Easy, Creamy Homemade Yogurt Guide
There’s something quietly satisfying about making yogurt at home. It’s one of those projects that looks intimidating until you try it, and then you realize how incredibly simple it really is. You don’t need fancy equipment or raw milk from a farm (though you can use that if you have it!). Regular store-bought milk will do just fine, and it’s cheap!
Why Make Your Own Yogurt?
Homemade yogurt tastes nothing like the stuff from the store. It’s thicker, creamier, and fresher… and you get to control everything that goes into it! No fillers, no added sugar, no mysterious “natural flavors.” Just milk and a little bit of culture.
It’s also so inexpensive. A gallon of milk can make about a gallon of yogurt, which means you can fill several jars with yogurt for between $2-4.


What You’ll Need
- 1 gallon of milk (whole milk makes the creamiest yogurt)
- Yogurt culture (I get mine from Homesteader’s Supply and keep it in the freezer until I need it).
- A pot large enough to hold your milk
- A thermometer (optional, but helpful)
- Jars or containers for storing your yogurt
- A warm place to incubate (an oven with the light on, a yogurt maker, or even a cooler with a towel works great)
How to Make It
- Heat the milk to about 180°F. This step kills any unwanted bacteria and helps the yogurt set up nicely.
- Cool it down to around 110°F, warm, but not hot to the touch.
- Stir in your culture. Follow the instructions on the packet (usually a small amount per quart).
- Pour into jars and place them somewhere warm. Keep the temperature steady between 105-115°F for 6-8 hours.
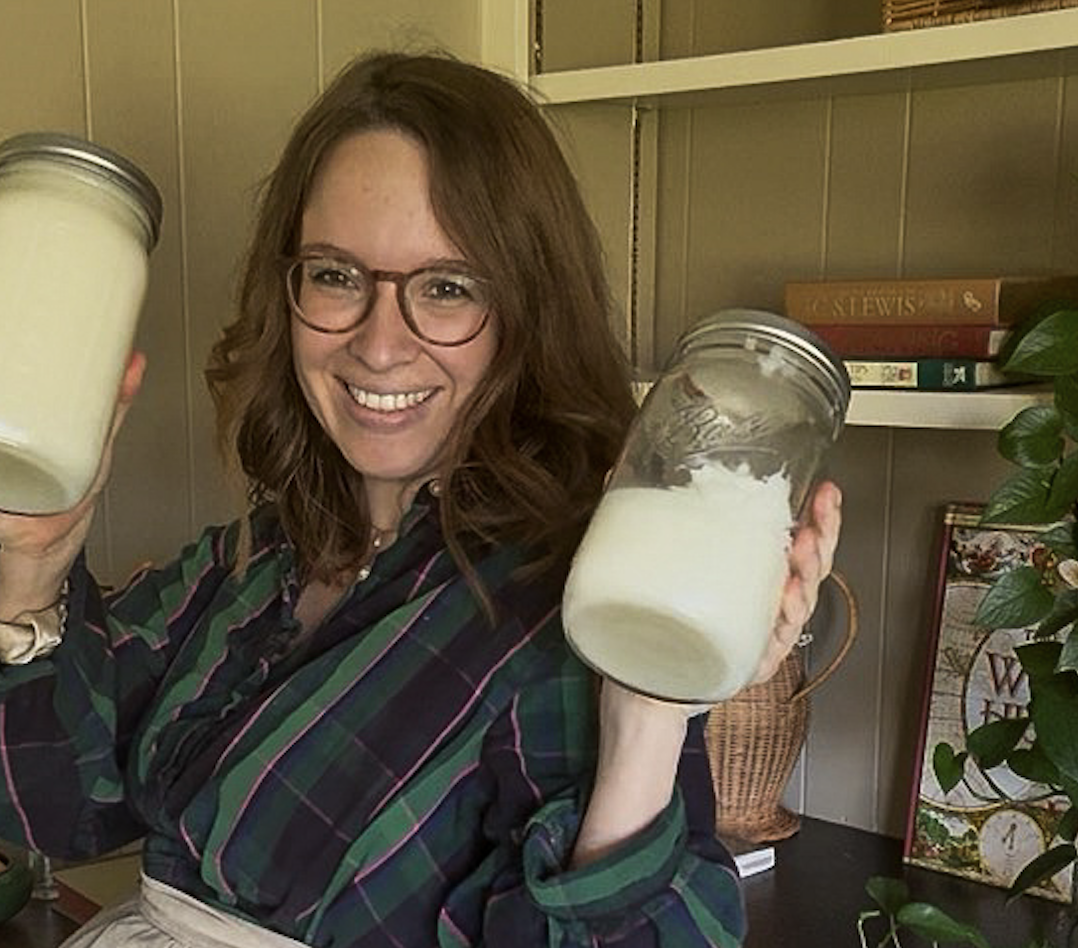
- Refrigerate and enjoy! The longer it sits, the thicker it will become.
This might sound a bit complicated but it is not a perfect science! You can mess up the process and still get some great yogurt. (Or you could be like me and mess up the process and sometimes end up with cheese curds… still delicious!)
A Few Tips
- If you like thicker yogurt, strain it through a cheesecloth for a few hours after chilling.
- Don’t throw away the whey, it’s full of nutrients and can be used in smoothies, bread dough, or soups.
- Save a few spoonfuls of your homemade batch to use as the starter for your next one.
Once you make yogurt this way, you’ll never want to buy it again. It’s fresh, wholesome, and endlessly customizable. Sweeten it with honey, top it with granola, or swirl in homemade jam.
Homemaking yogurt isn’t just about the yogurt itself-it’s about that feeling of satisfaction when you open your fridge and see something made entirely by your own hands.
I Promise, Fermenting is Easy
Fermenting can feel intimidating, but it’s actually one of the most forgiving kitchen skills there is. With a clean jar, good ingredients, and a little patience, most ferments happily take care of themselves.
Always use common sense and basic cleanliness, but don’t overcomplicate it! Your senses are powerful tools. If it smells pleasantly tangy, yeasty, or like yogurt, it’s usually just right. If something smells rotten, moldy, or truly off, trust your nose and toss it. Keep your ferment covered, at a comfortable room temperature, and give it time. Fermenting isn’t about perfection; it’s about paying attention and letting good bacteria do what they were designed to do.
Happy Homemaking, friends!
❤️ Rachel