My Experience with Tangzhong/Yudane
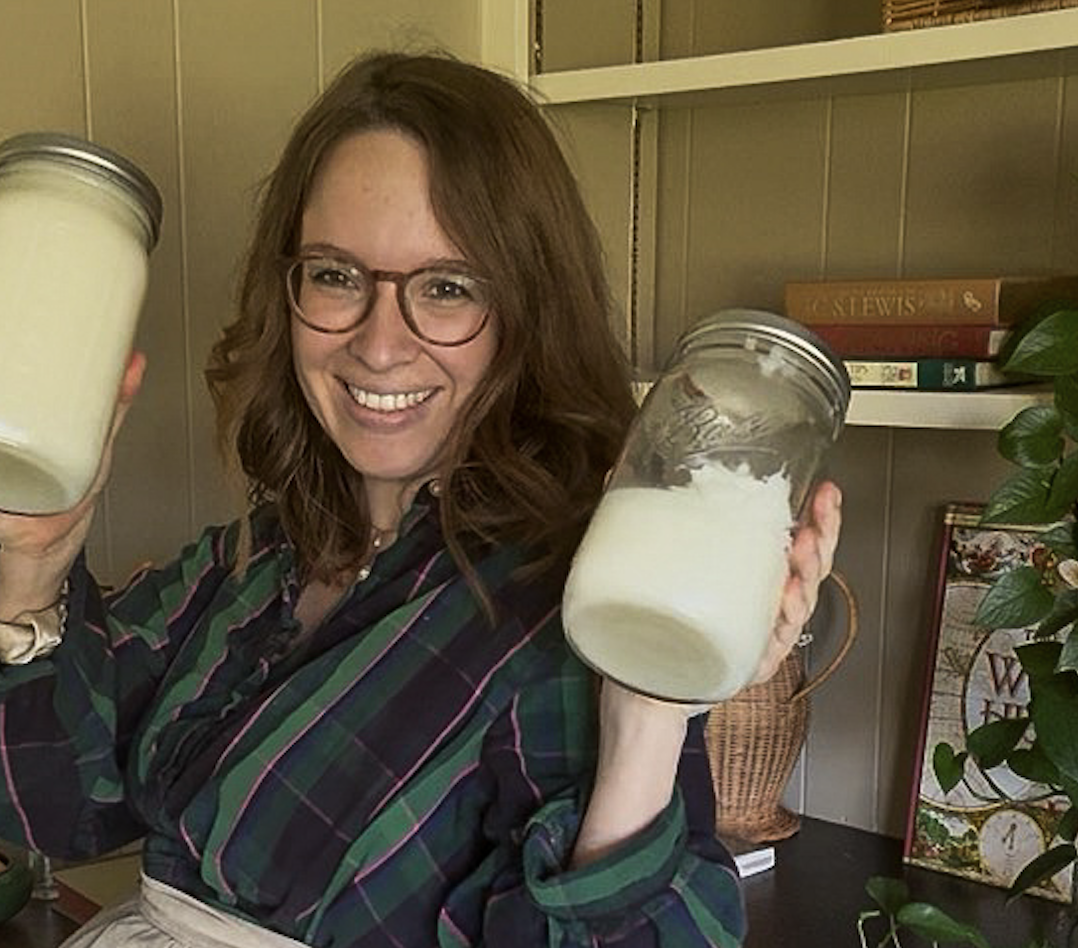
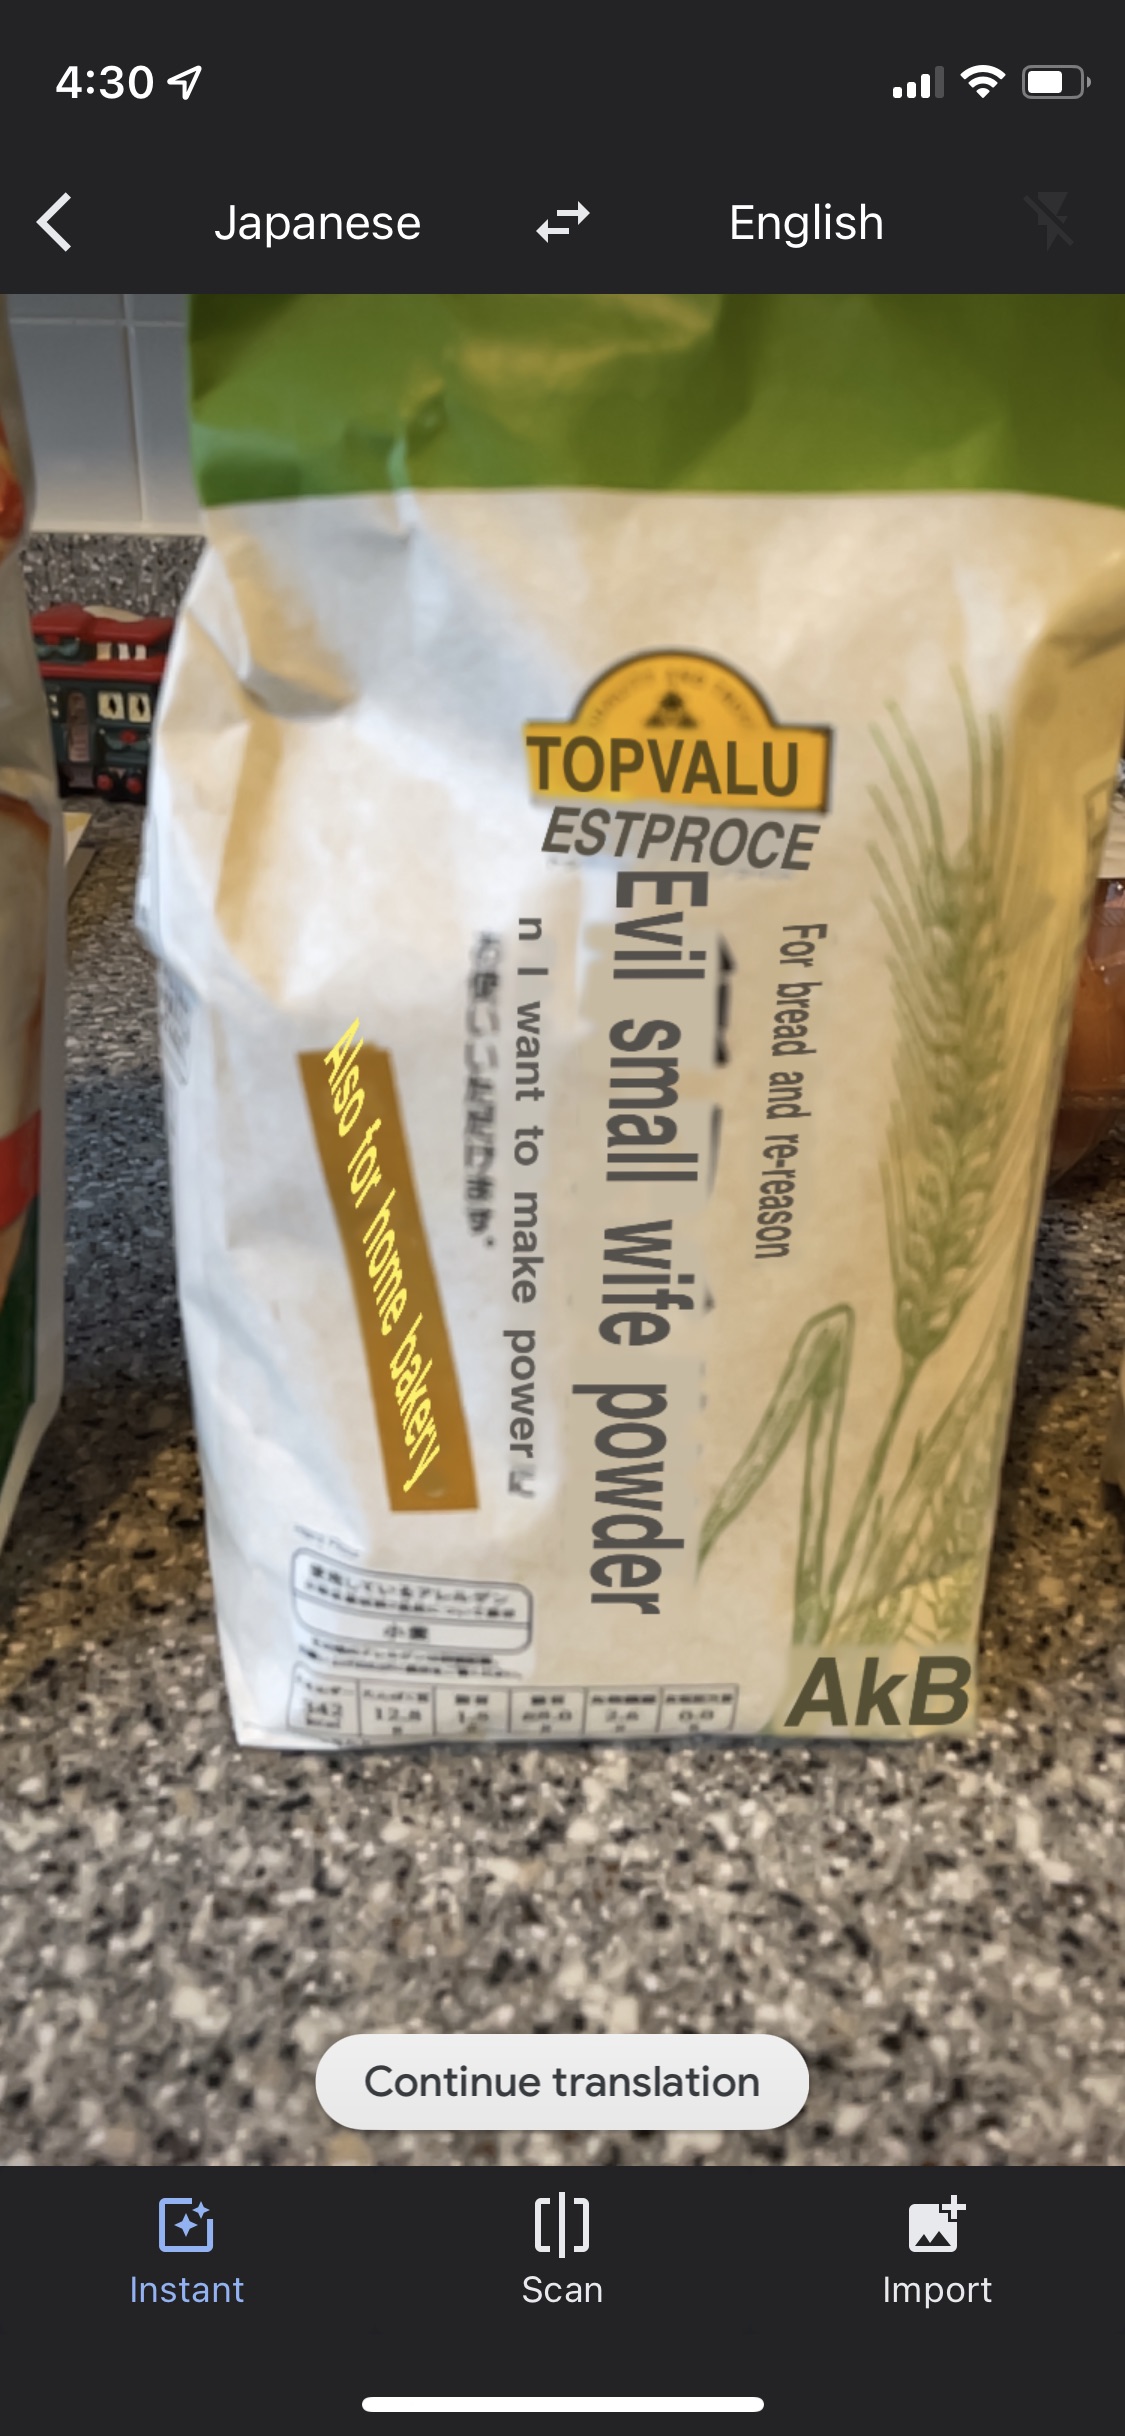
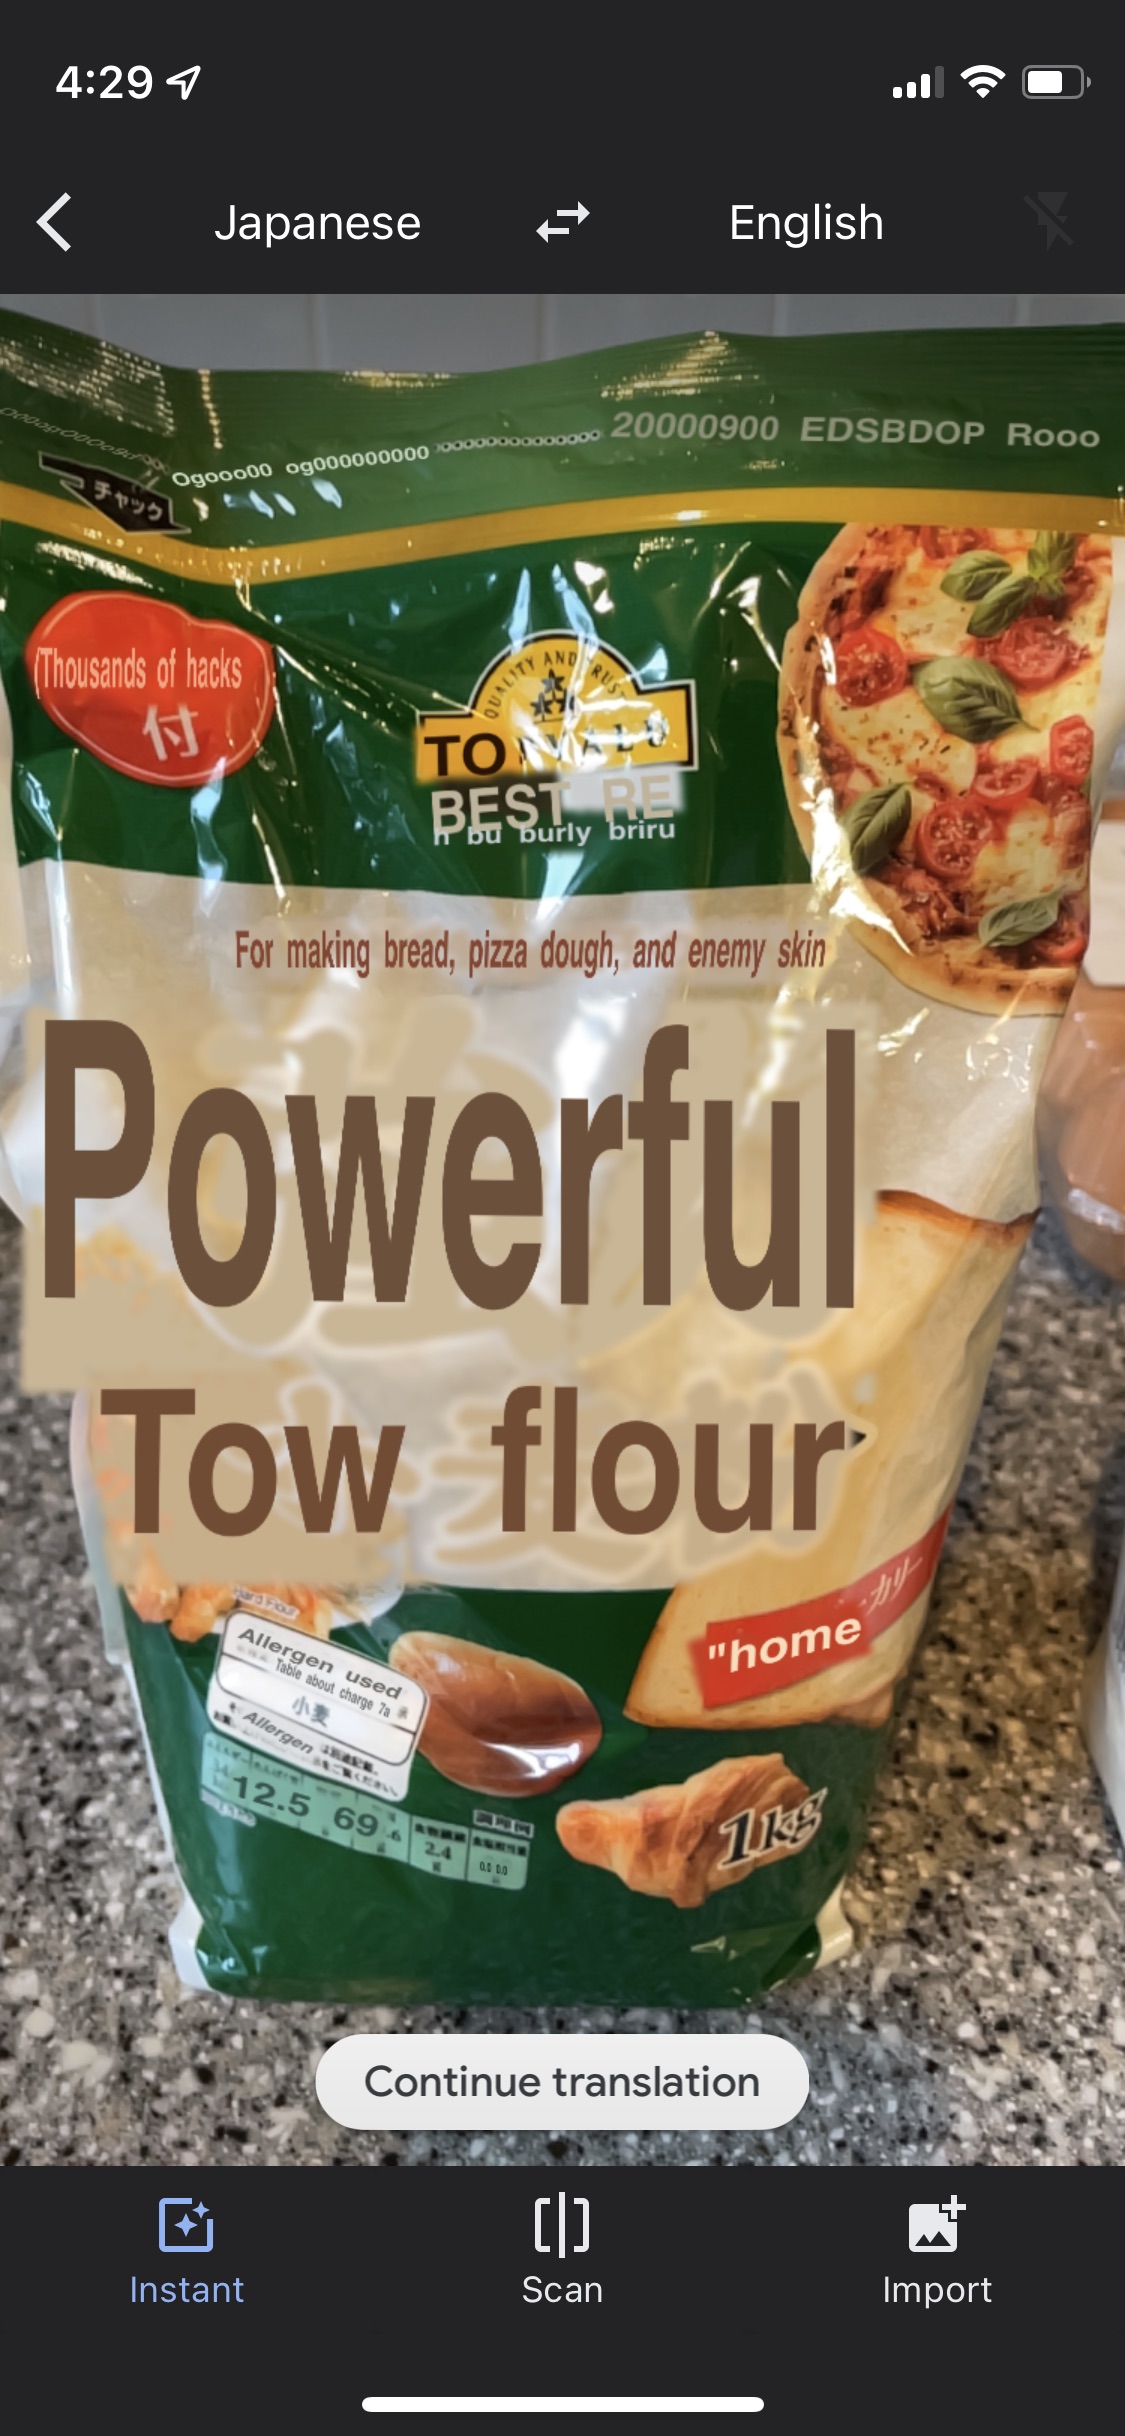
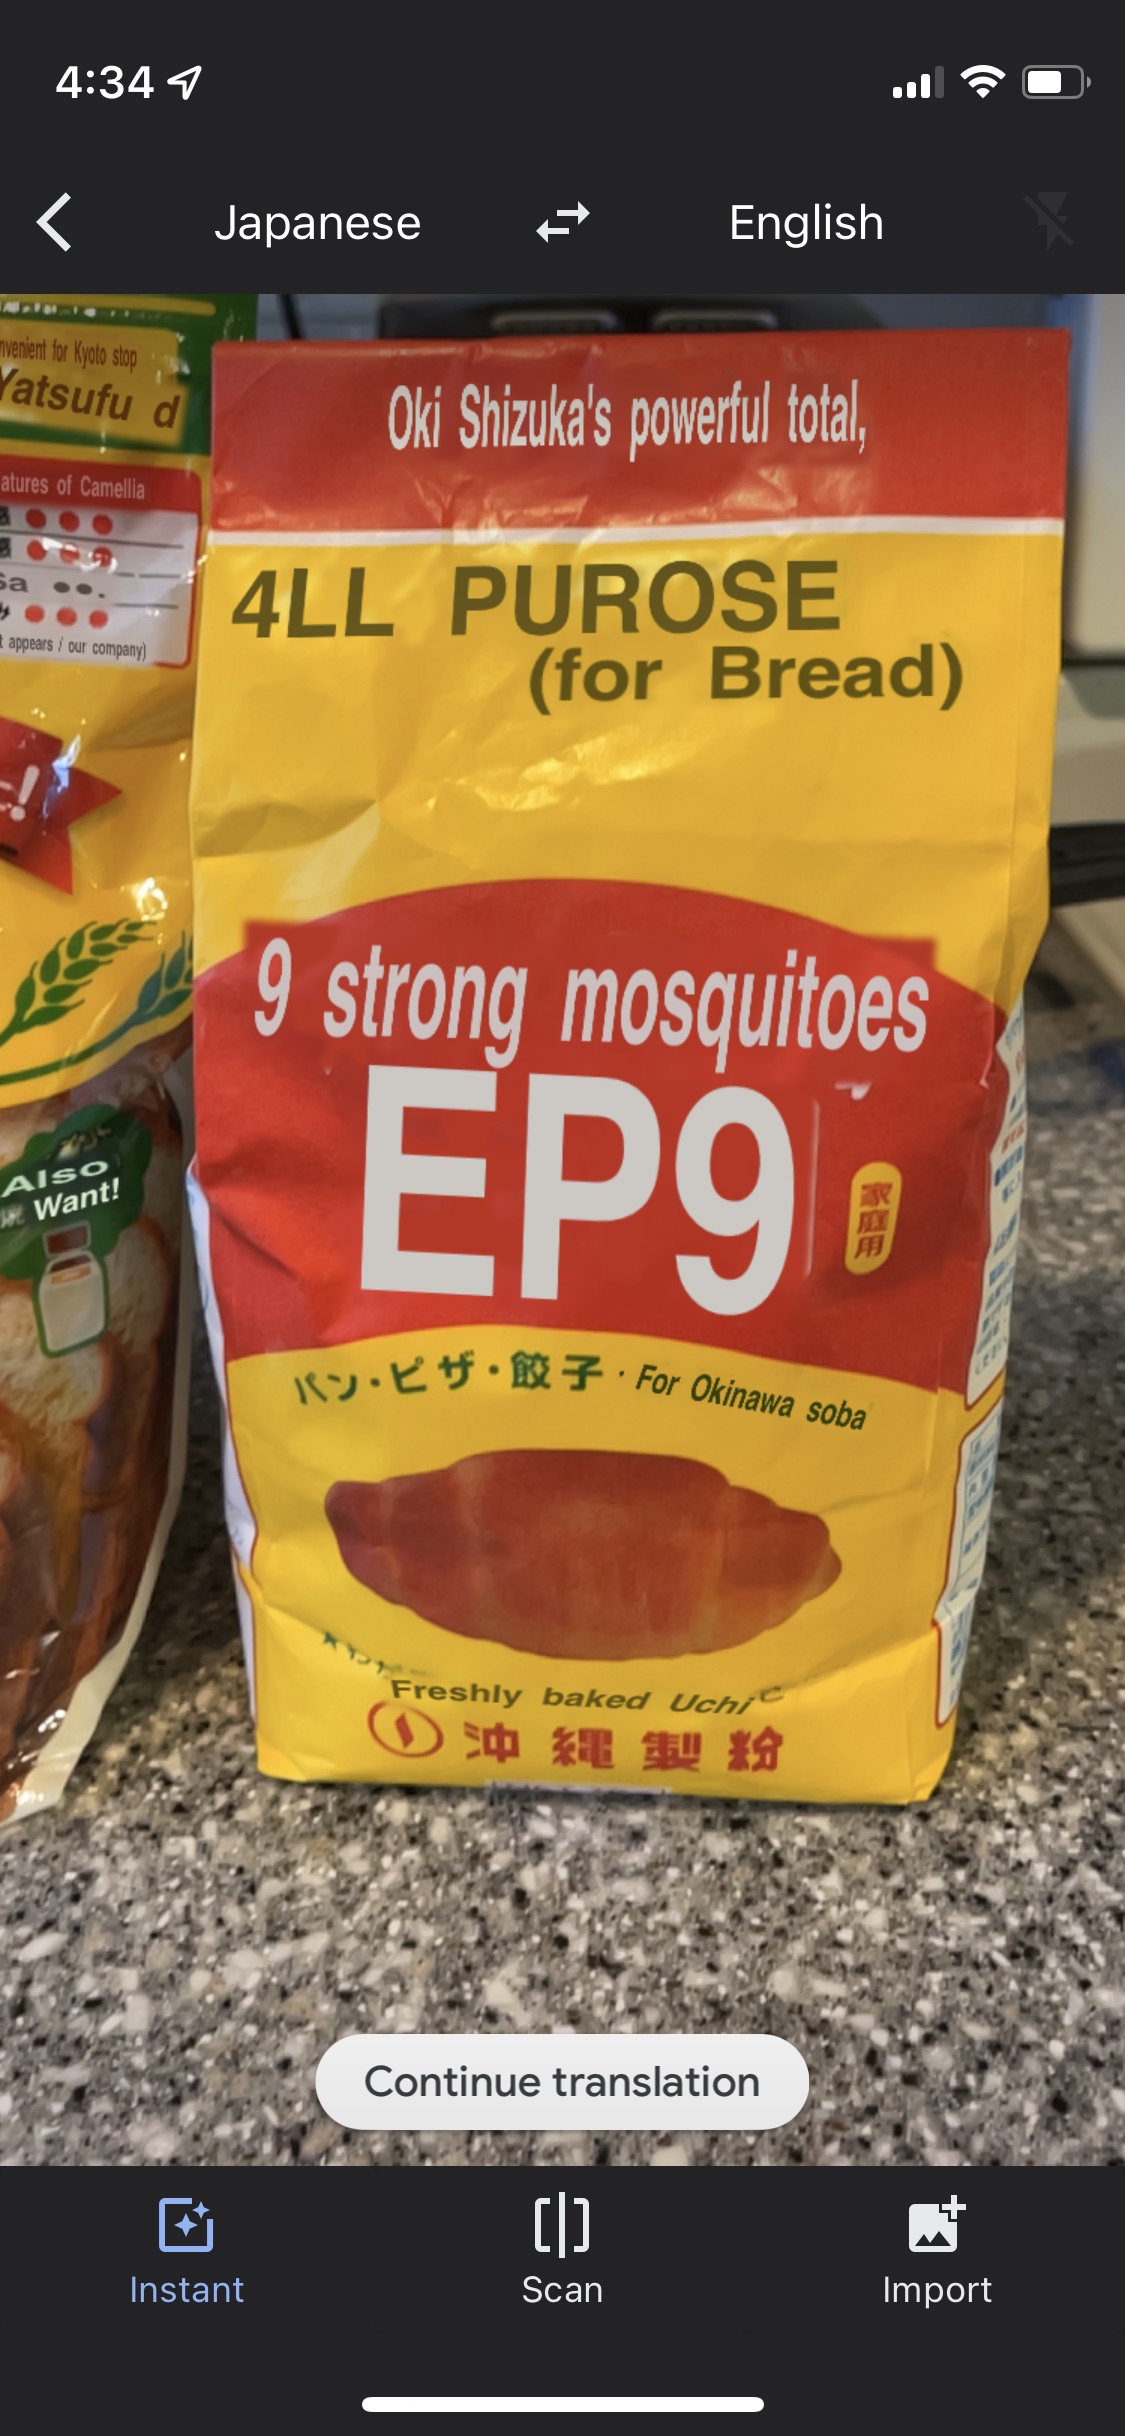
Believe it or not, my bread making journey began when I lived in Japan. My husband and our family were stationed in Okinawa with the US Navy for a few years when our kids were babies. My interest in making homemade bread just happened to coincide with our move, so I bought flour from the Japanese grocery store and found a recipe for Japanese Milk Bread on the side of the bag of flour. Google translate was not always the *best* at translating things (pictures of Google-translating varioius bags of Japanese flour for reference), so then I turned to the internet to make sure I was making it correctly.
Part of making Japanese Milk Bread was scalding a portion of the flour and water before anything else – this gelatinized the flour and made it super stretchy. This technique is called Yudane (Yoo-da-nay) in Japanese, Tangzhong (tun-gzun) in Chinese. If you’ve learned anything from me yet, you know that we want our dough to be STRETCHY so that it will hold gas bubbles and give us the beautiful rise that we want. This technique makes for very fluffy/bouncy bread that tastes naturally sweeter and does not go stale. You can see my post here about the science behind Tangzhong/Yudane.
Fast forward a few years, I am knee deep in milling my own flour at home, haven’t baked with store-bought flour in years, and I completely forget about the Yudane method! I never thought to apply it to freshly milled flour.
Why Beginner Millers Should Start with Tangzhong/Yudane
Long story short, it’s an extra step that makes everything easier. Freshly Milled Flour is naturally VERY “thirsty”. It absorbes a LOT more water than store-bought flour – therefore, it will basically always be a higher hydration dough. But if you’ve ever baked before, you know that higher hydration doughs are a bit harder to work with because they’re stickier. (You can help this by keeping a bowl of water next to your work station and keeping your hands wet while working with dough).
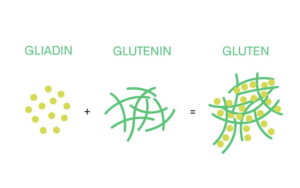
But by scalding a portion of your dough, it creates a gelatin and allows your dough to be a higher hydration while being easier to work with and a tad less sticky. But mostly, this method makes the dough naturally STRETCHIER because you have made a portion of the dough gelatinized – and it also helps to further soften the bran from cutting our gluten strands.
Basic Tangzhong/Yudane How-To

For traditional Yudane, take 10-20% of the flour weight in your recipe and mix it with equal weight water from recipe. Mix in a saucepan over med/high heat until gelatinized. This usually takes about 4-6 minutes. Then mix into recipe (everything except yeast) and begin autolyse. Add yeast after autolyse.
Remember, you are not adding more flour and water to the recipe, you are just using a portion of the recipe for the Yudane.
Ex: The recipe is 500g of flour and 240g of water – use 100g flour + 48g water for Yudane. Then add the Yudane mixture to the remaining 400g of flour and 192g of water.
I will walk you through my recipe below, but you can take these percentages and apply them to any yeast bread recipe to create Tangzhong/Yudane!
For traditional Yudane, take 10-20% of the flour weight in your recipe and mix it with equal weight water from recipe.
Basic Freshly Milled Tangzhong/Yudane Bread
Ingredients:
- 6 2/3 cups (800g) flour – Hard White Wheat
- 1 cup milk (250g)
- 1 cup water (240g)
- 4 tbsp (60g) softened butter
- 4 tbsp (90g) Honey
- 2.5 tsp (15g) salt – I used Redmonds Real Salt
- 2 eggs (~100g)
- 2 tbsp lemon juice (30g)
- 4.5 tsp (14g) if using active dry yeast (4 tsp instant)
Instructions:
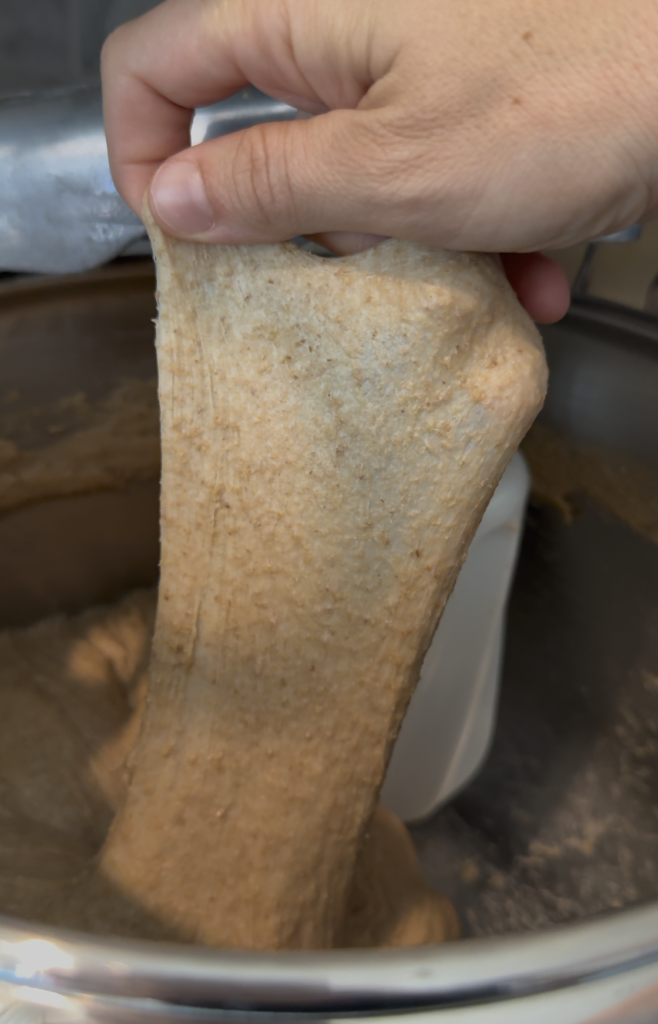
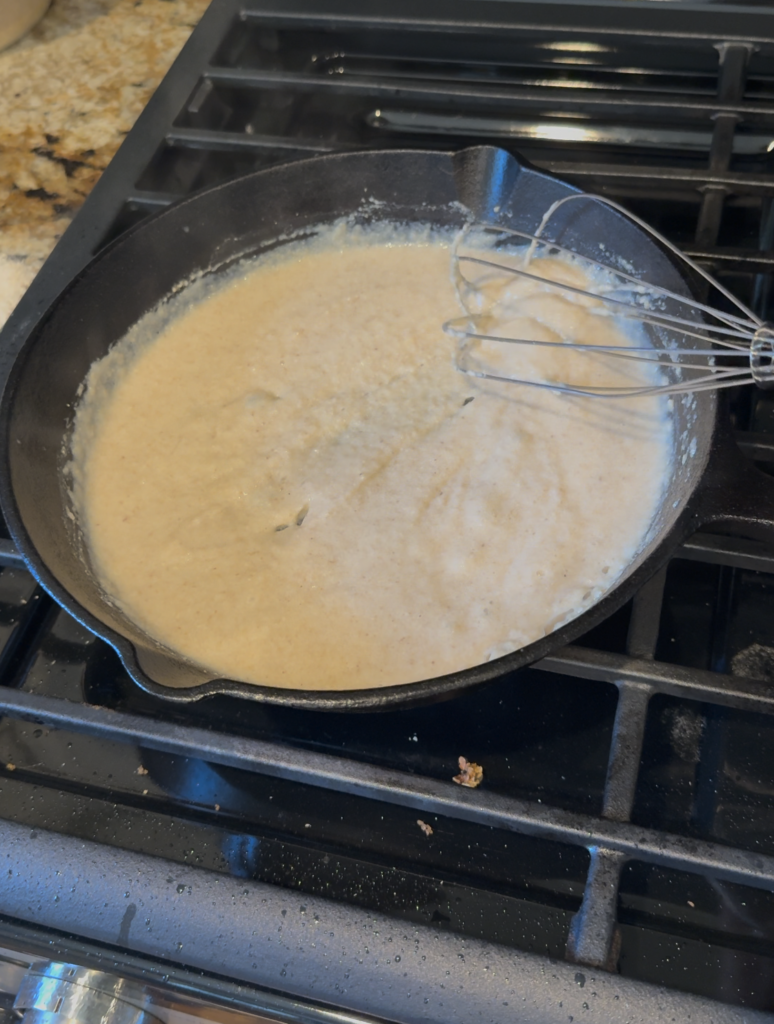
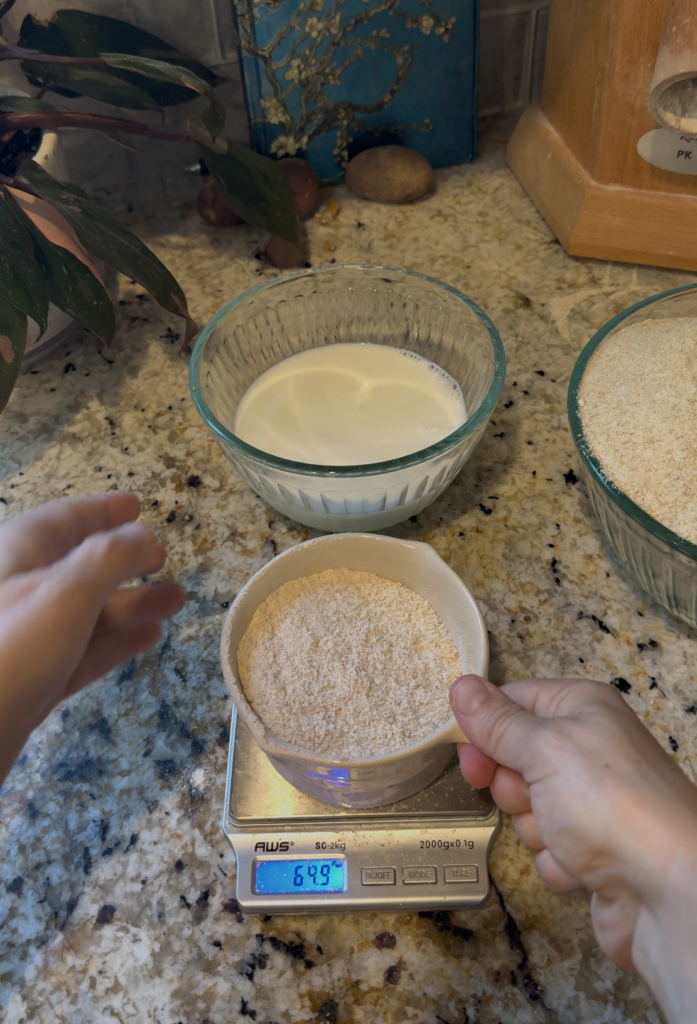
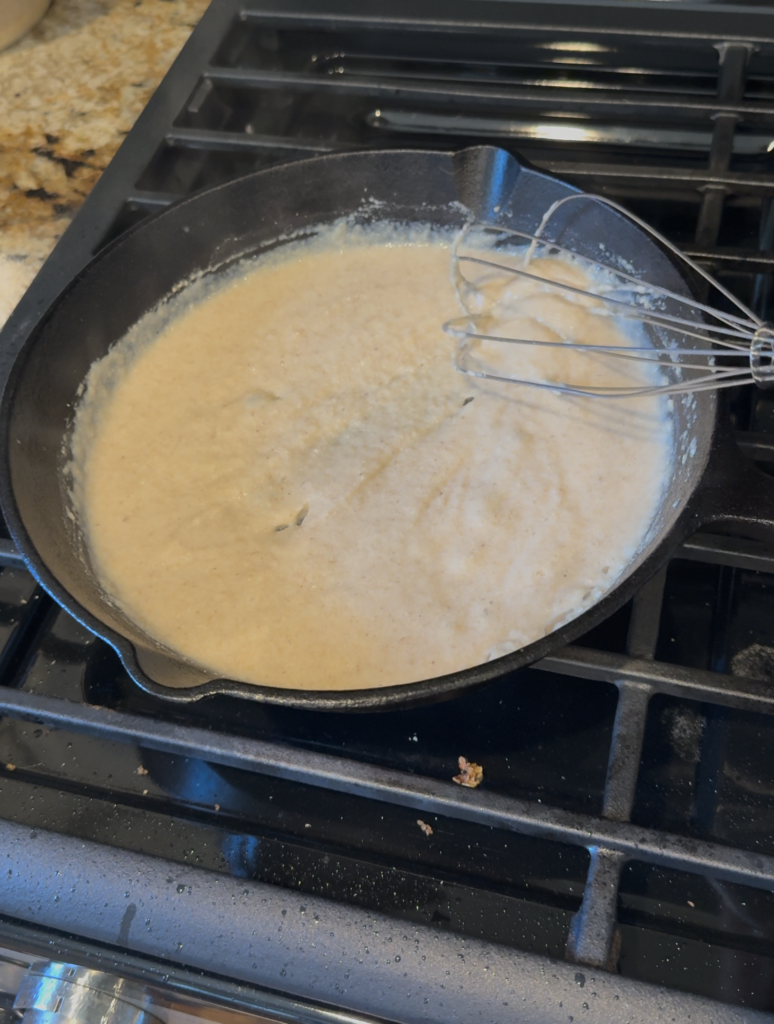
- Measure out 80g of flour + 160g of water for Tangzhong. Add them to saucepan, whisk while heating over low/med. Continue to mix until mixture because a paste (about 4-6 minutes).
- Remove paste mixture from heat and allow to cool.
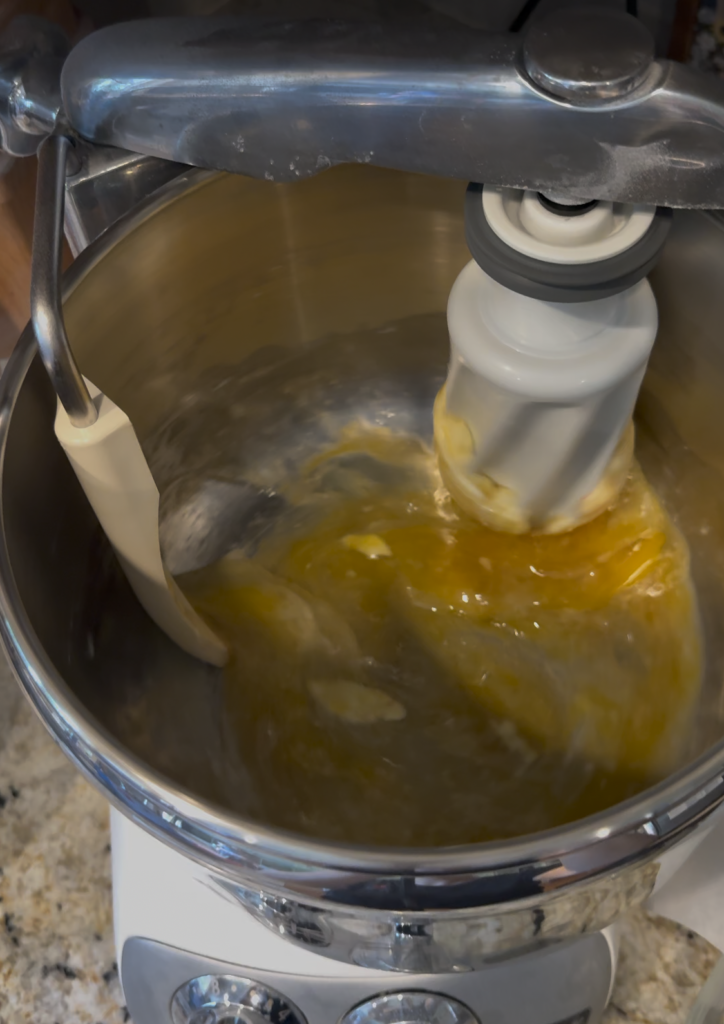
- While paste cools, combine all wet ingredients (milk, remaining water, butter, honey, salt, eggs, and lemon juice)
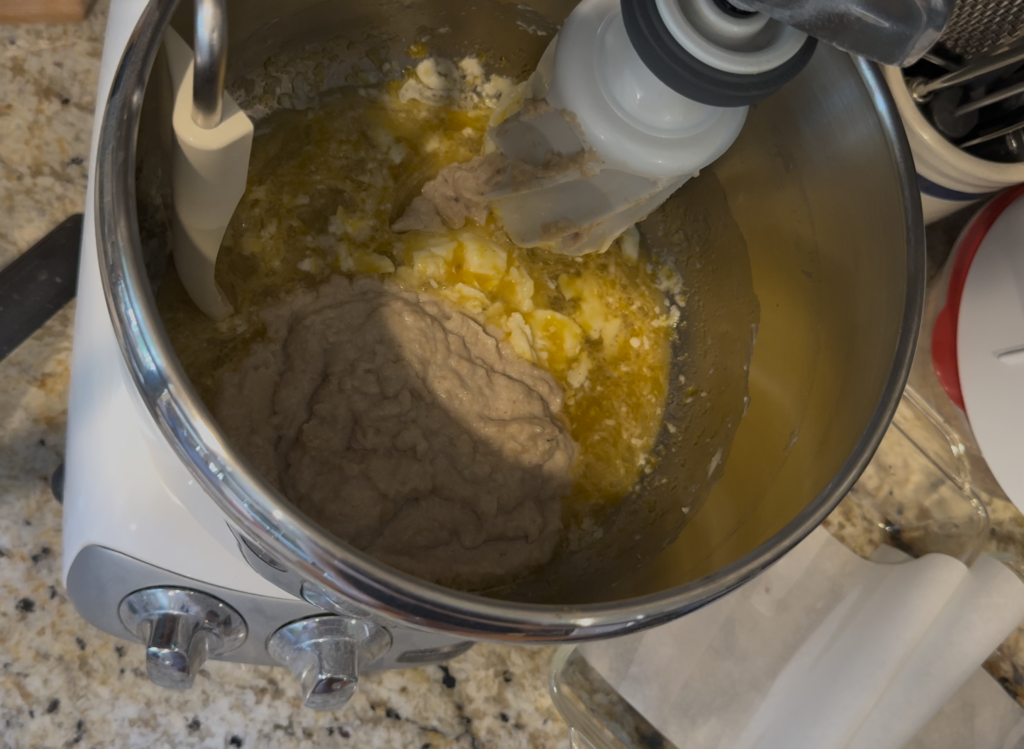
- Add cooled paste
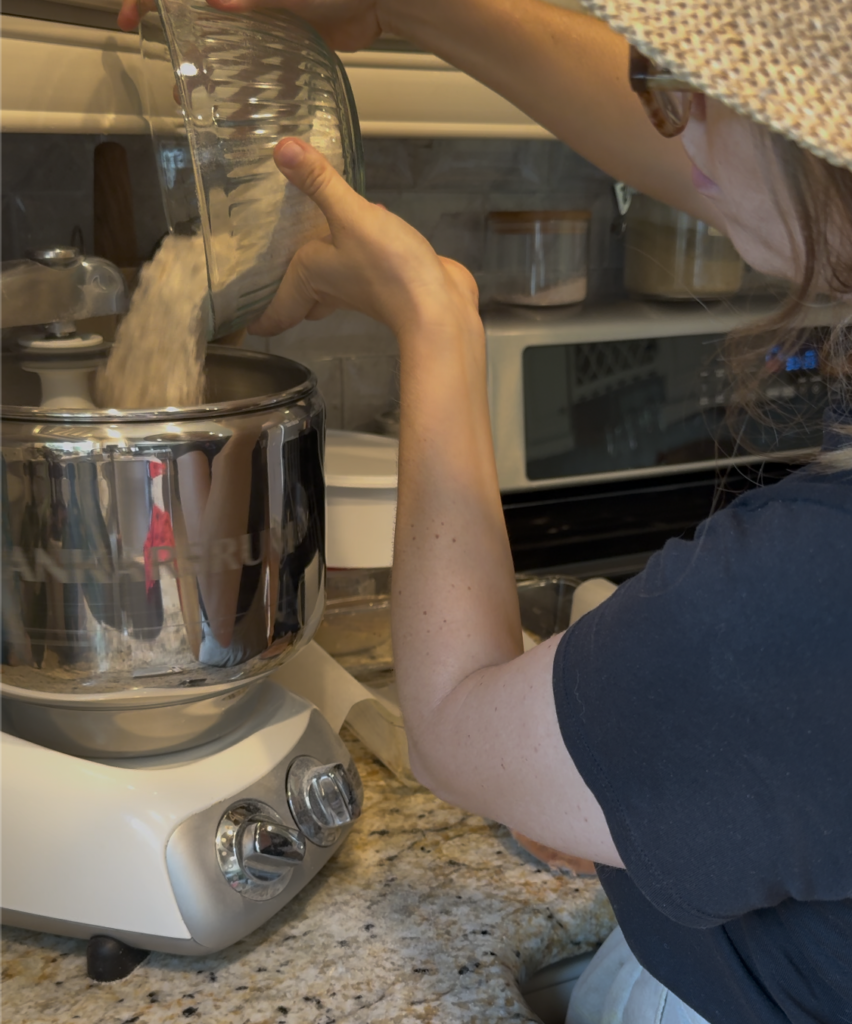
- Once paste is mixed in, add remaining flour, mix until all flour is wet
- Autolyse 15-20 minutes
- Add yeast
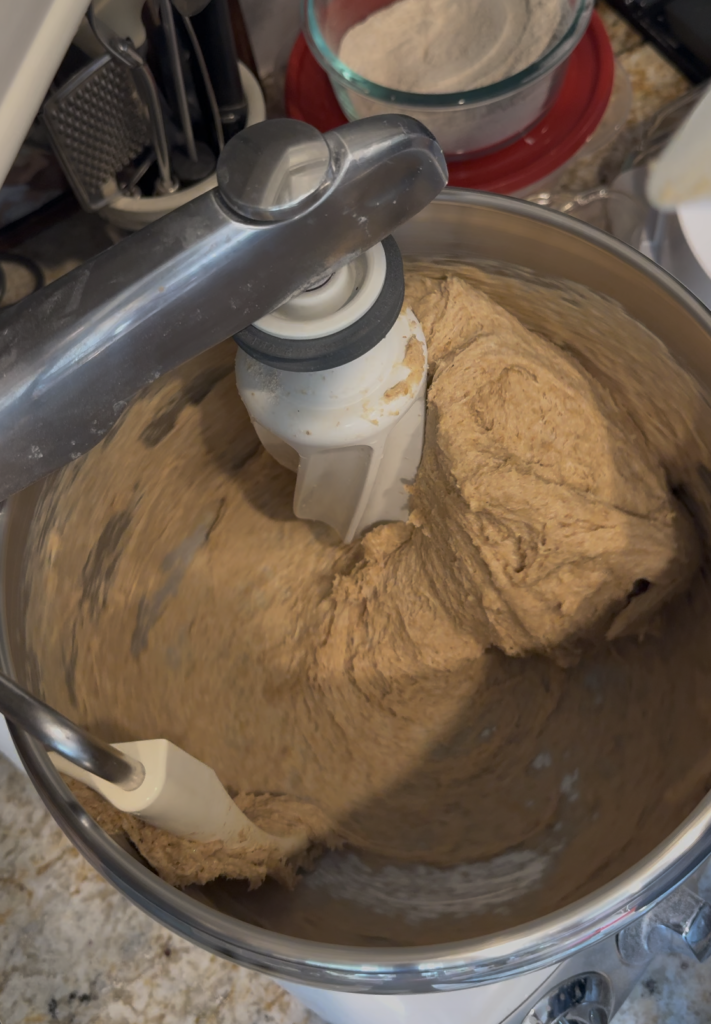
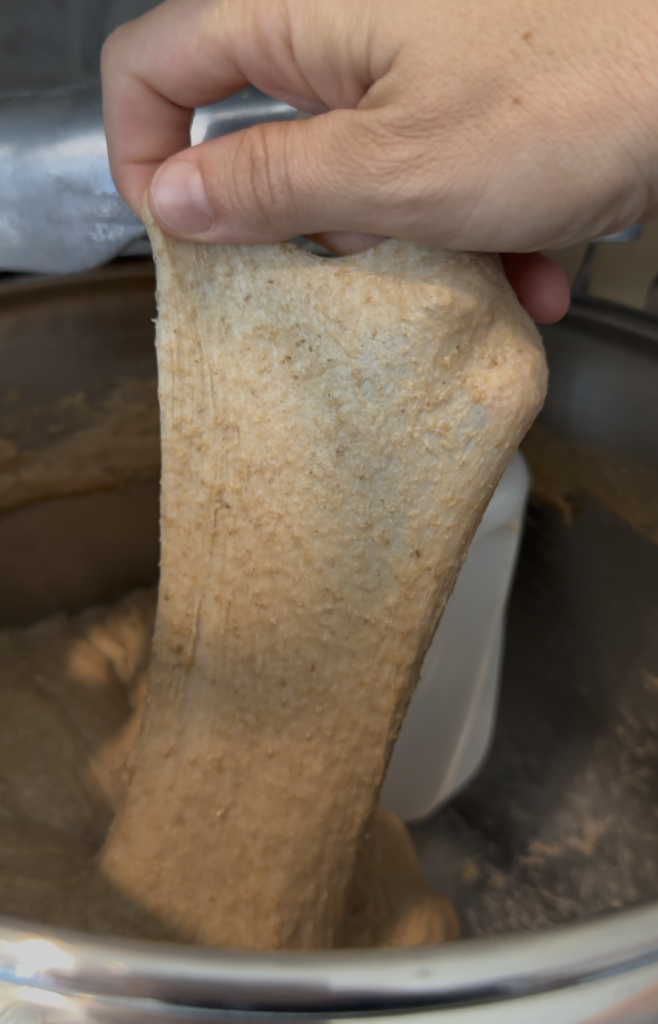
- Knead until windowpane (24 minutes in Ankarsrum mixer, could be longer or shorted depending on your mixer, keep testing for stretchy windowpane to know when kneading is complete)
- First Rise. Cover and allow to rise until double
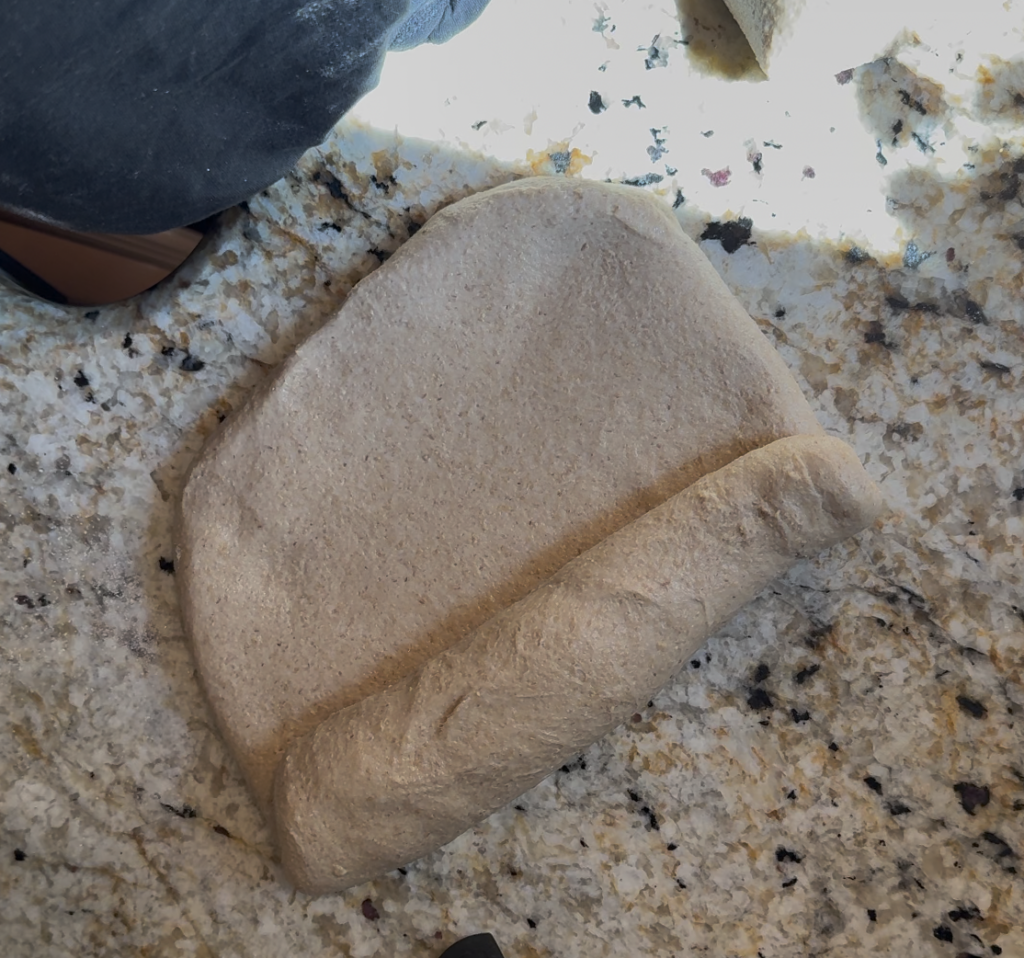
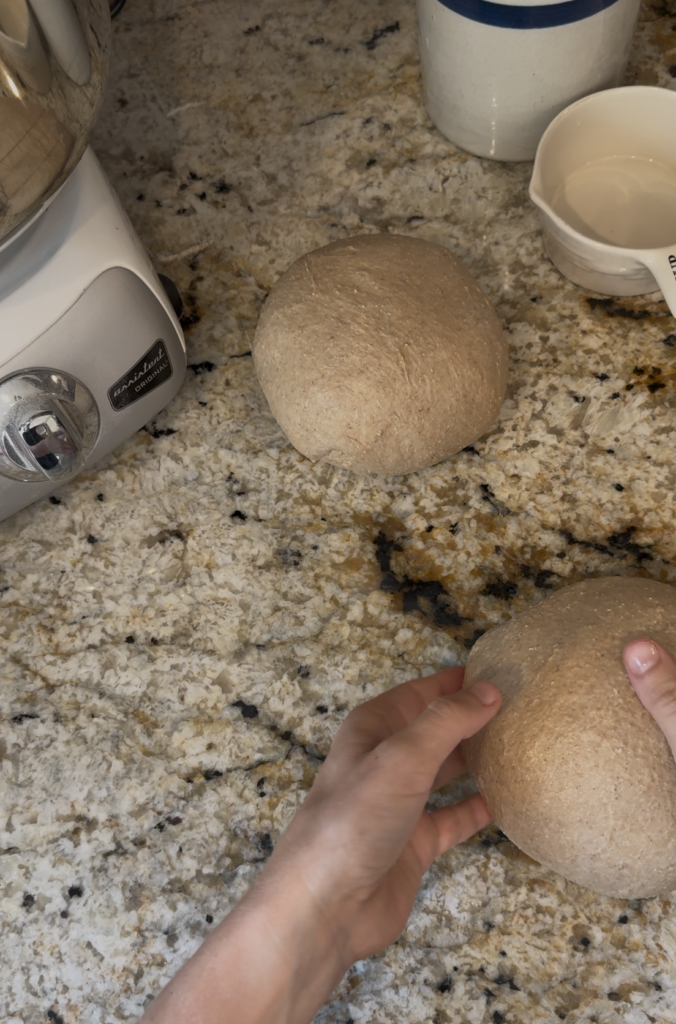
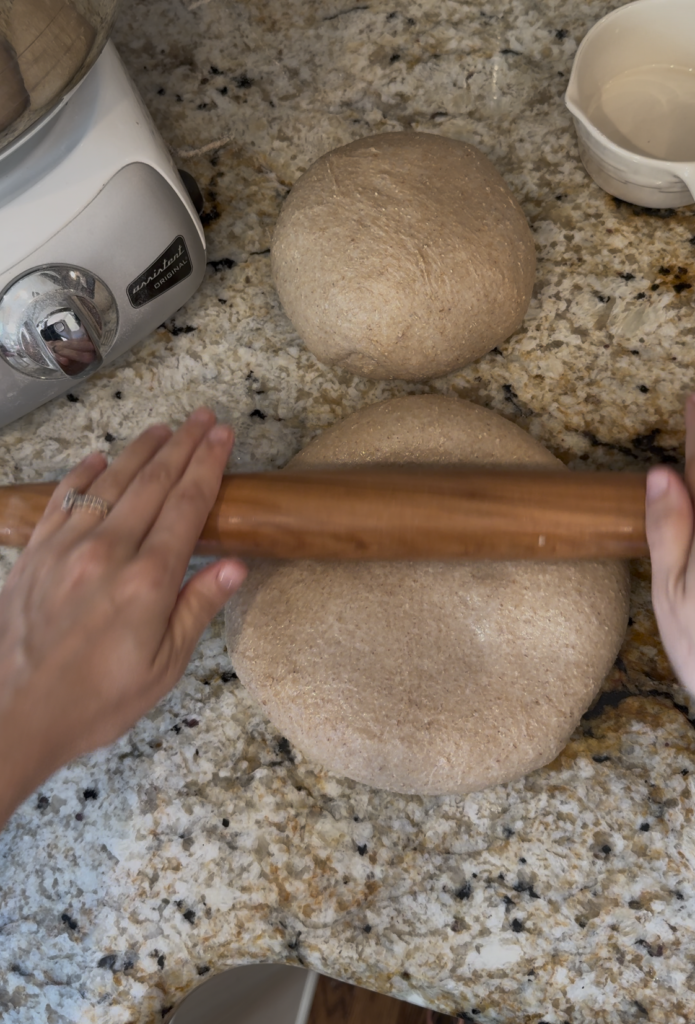
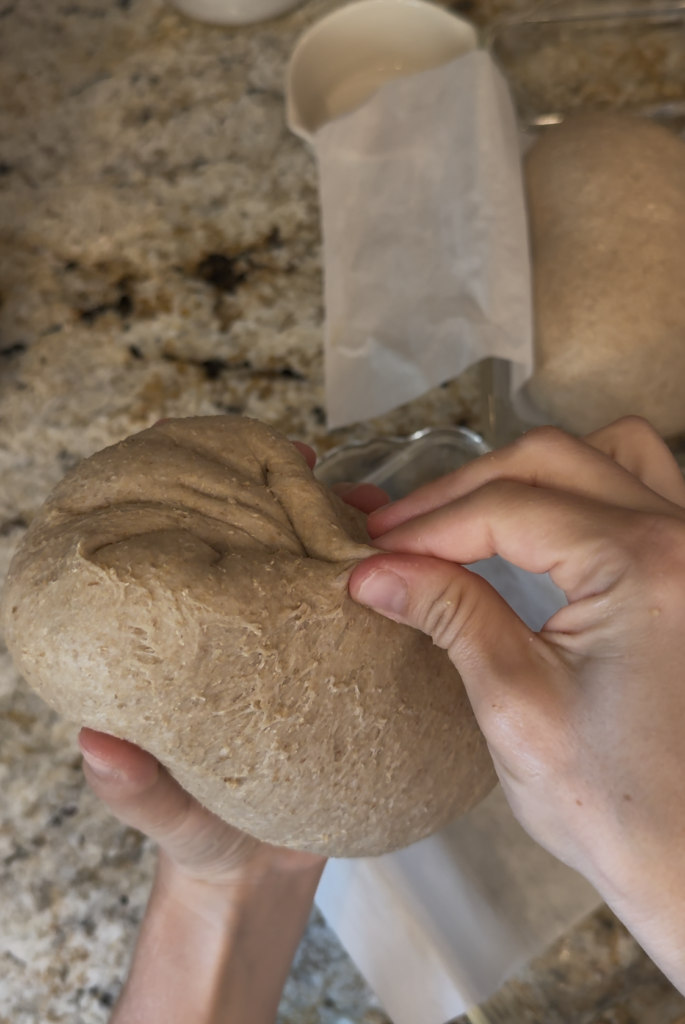
- Shape. Remove dough from bowl, divide in two, form into balls with tension on top, roll out each dough ball with rolling pin, then roll up the slightly flattened dough to fit into loaf pan. Be sure to tuck ends under and pinch the bottom to seal.
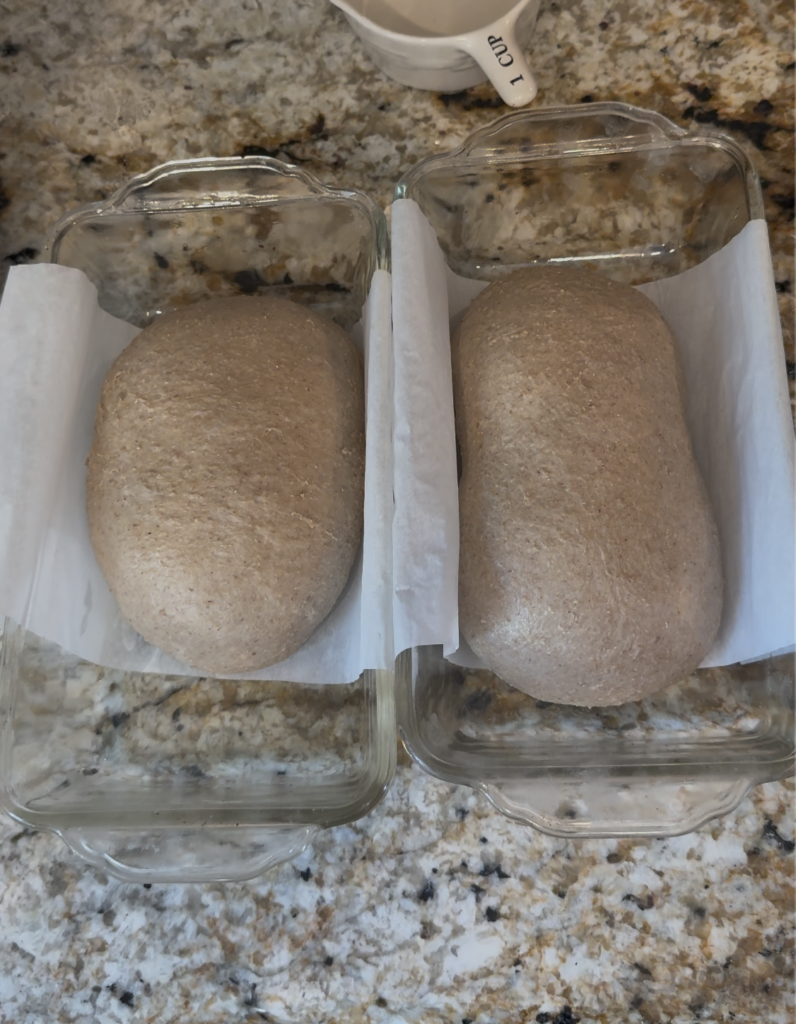
- Second Rise. Cover loaf pans with wet tea towel, allow to double in size again. This rise will be about half the time as the first.
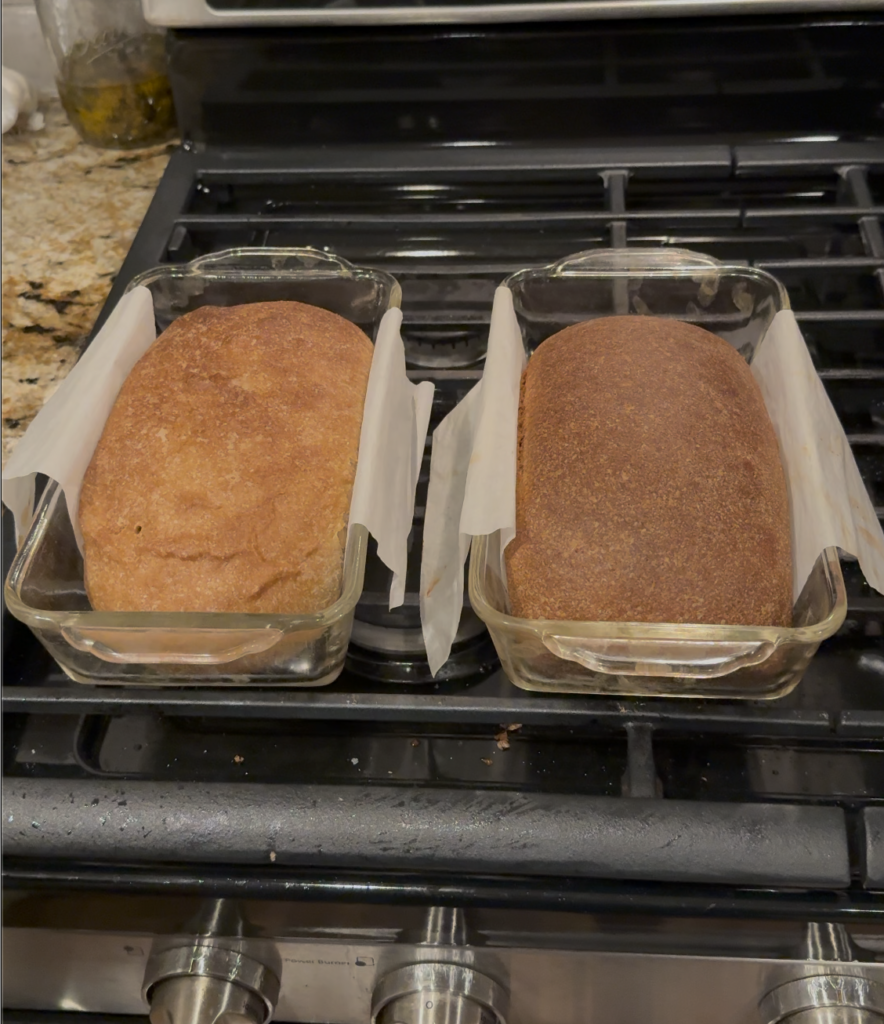
- Bake. Bake loaves covered with foil at 450 degrees for 15 minutes.
- Decrease temp. After 15 minutes, decrease temperature to 350 degrees. Bake for 30-40 more minutes. Or until internal temp of bread is 200 degrees.
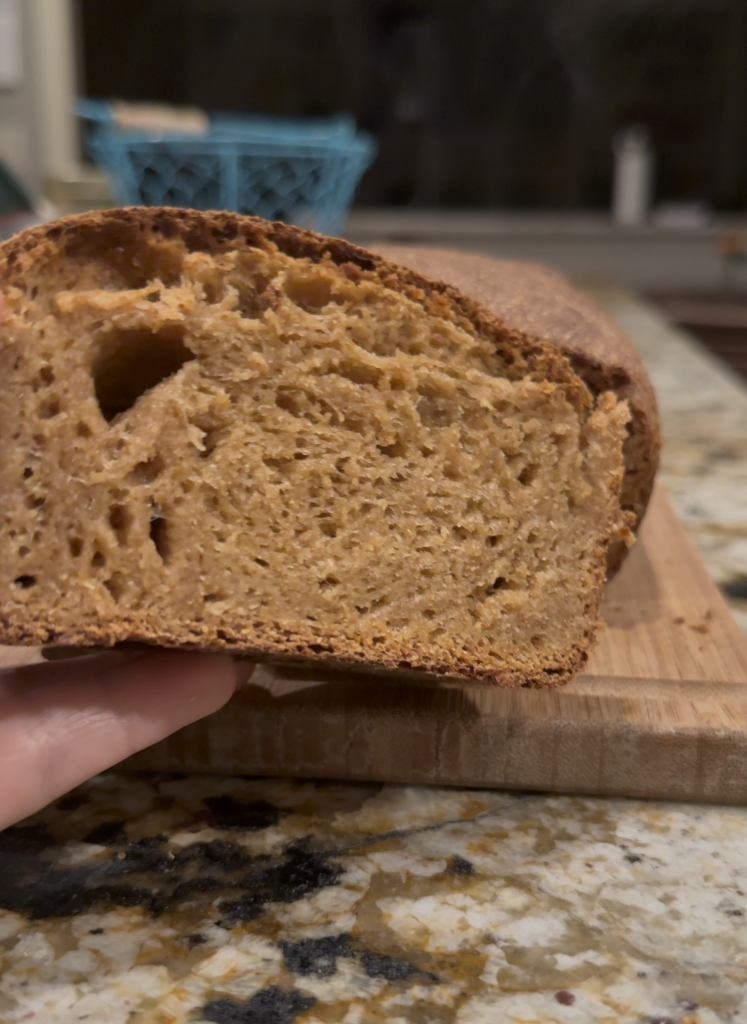
- Remove from oven. Allow to cool before slicing.**
**My husband loves to cut bread right when it comes out of the oven. The inside WILL be gummy if you do this, but my husband like it like that for some reason. So, if you like gummy partially cooked bread, you can cut it right when it comes out of the oven too.
.
There’s a comment section below if you have any questions!
Happy baking and remember, all glory to the One who made it all 🙂
❤️ Rachel
Ingredients
Method
- Measure out 80g of flour + 160g of water for Tangzhong. Add them to saucepan, whisk while heating over low/med. Continue to mix until mixture because a paste (about 4-6 minutes).
- Remove paste mixture from heat and allow to cool.
- While paste cools, combine all wet ingredients (milk, remaining water, butter, honey, salt, eggs, and lemon juice)
- Add cooled paste
- Once paste is mixed in, add remaining flour, mix until all flour is wet
- Autolyse 15-20 minutes
- Add yeast
- Knead until windowpane (24 minutes in Ankarsrum mixer, could be longer or shorted depending on your mixer, keep testing for stretchy windowpane to know when kneading is complete)
- First Rise. Cover and allow to rise until double
- Shape. Remove dough from bowl, divide in two, form into balls with tension on top, roll out each dough ball with rolling pin, then roll up the slightly flattened dough to fit into loaf pan. Be sure to tuck ends under and pinch the bottom to seal.
- Second Rise. Cover loaf pans with wet tea towel, allow to double in size again. This rise will be about half the time as the first.
- Bake. Bake loaves covered with foil at 450 degrees for 15 minutes.
- Decrease temp. After 15 minutes, decrease temperature to 350 degrees. Bake for 30-40 more minutes. Or until internal temp of bread is 200 degrees.
- Remove from oven. Allow to cool before slicing.**