Homemade Liquid Castile Soap
A simple three-ingredient recipe for clean living.
Why make your own soap at home?
Because I am so tired of paying a fortune and obsessing over reading labels! I spent years reading labels in the store to try to buy the best and safest brand for my family. Not only was it expensive, but the brands I would grow to trust would always eventually sell out and start using toxic ingredients just like the rest of them. (You know which ones I’m talking about).
Once I learned I could make my own soap for 1/4 of the price, and it would have ONLY the bare minimum ingredients that soap needed to be soap… I was hooked. Now I make all of our soap at home. We use it for body wash, dishes, laundry, etc. Castile soap is the most versatile soap there is!
So, if you’ve ever wanted to make your own gentle, all-purpose soap, this is the easiest place to start. True liquid Castile soap only needs three ingredients: olive oil, potassium hydroxide, and distilled water.
It’s a beautiful example of the chemistry that happens when natural oils meet a strong base: they transform into a rich, cleansing soap that’s safe for skin, dishes, and even the floor.
There are definitely a few very simple safety precautions to take, but with those in mind, I have felt totally comfortable teaching kids 7-8 years and older how to do this (with supervision). It’s a great homeschooling project 🙂
Ingredients
- 16 oz (1 lb) olive oil
- 3 oz potassium hydroxide (KOH)
- Not sodium hydroxide; this is what makes it liquid instead of hard
- 6 oz distilled water (for the lye solution)
- ⚠️ Important:
- Liquid soap must be made with KOH, not NaOH. NaOH creates solid bar soap.
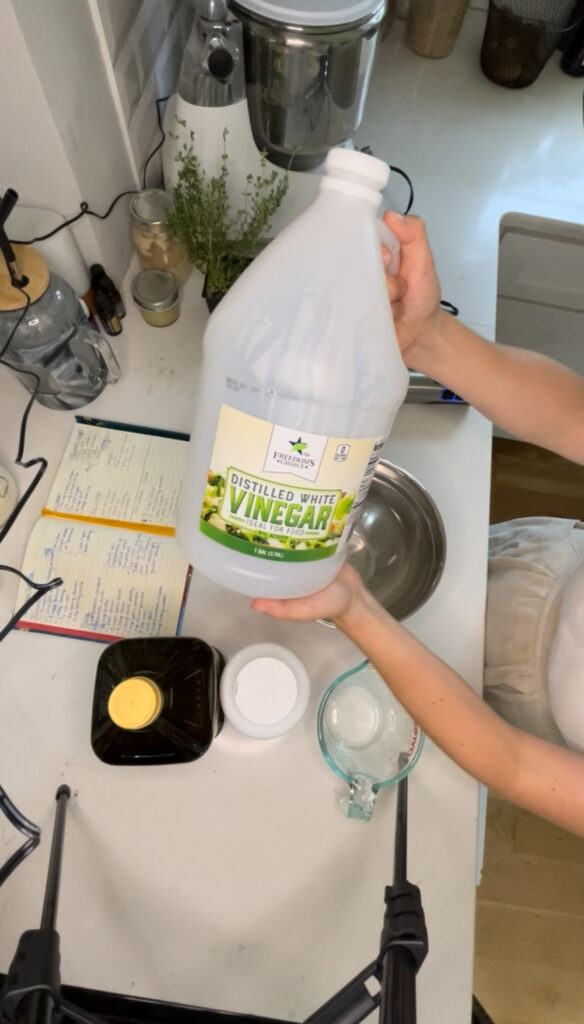
- Vinegar on hand for safety and neutralizing lye spills, and essential oils for scent after dilution.
These are the ratios that I use. If you want to adjust, just run your ingredients through a lye calculator!
Tools
Soapmaking is perfectly safe when done correctly – but lye deserves respect.
- Required safety gear:
- Safety goggles or glasses
- Chemical‑resistant gloves
- Long sleeves
- Recommended tools:
- Digital kitchen scale (grams or ounces)
- Heat‑safe container (stainless steel or heavy plastic)
- Stick blender
- Slow cooker or stainless pot
- Silicone spatula
- Thermometer (optional but helpful)
⚠️ Lye Safety (Please Read First)
Potassium hydroxide is a strong alkaline substance that can cause burns if it touches skin or eyes.
- Always add lye to water, never water to lye
- Mix in a well‑ventilated area (fumes are normal at first)
- Keep children and pets out of the room
- If lye touches skin: rinse immediately with cool running water for several minutes
- Vinegar can neutralize small spills on surfaces (not skin)
No Need to Worry: Once soap is fully saponified, there is no lye left in the finished product.
Understanding Saponification (In Simple Terms)
Soap is created through a chemical reaction called saponification.
When oil and lye combine, they transform into:
- Soap
- Naturally occurring glycerin
This is a complete chemical change. Properly made soap does not contain active lye.
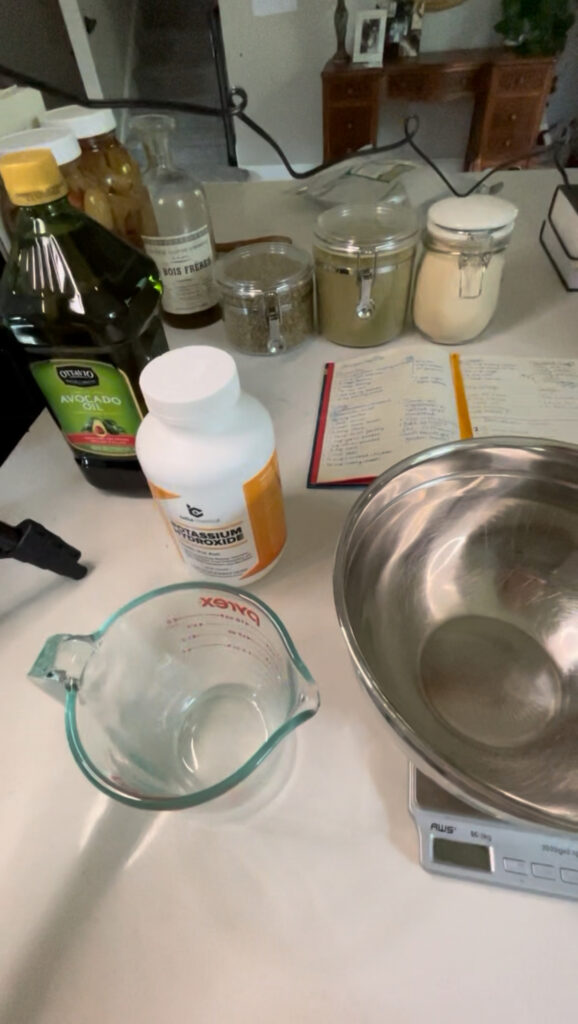
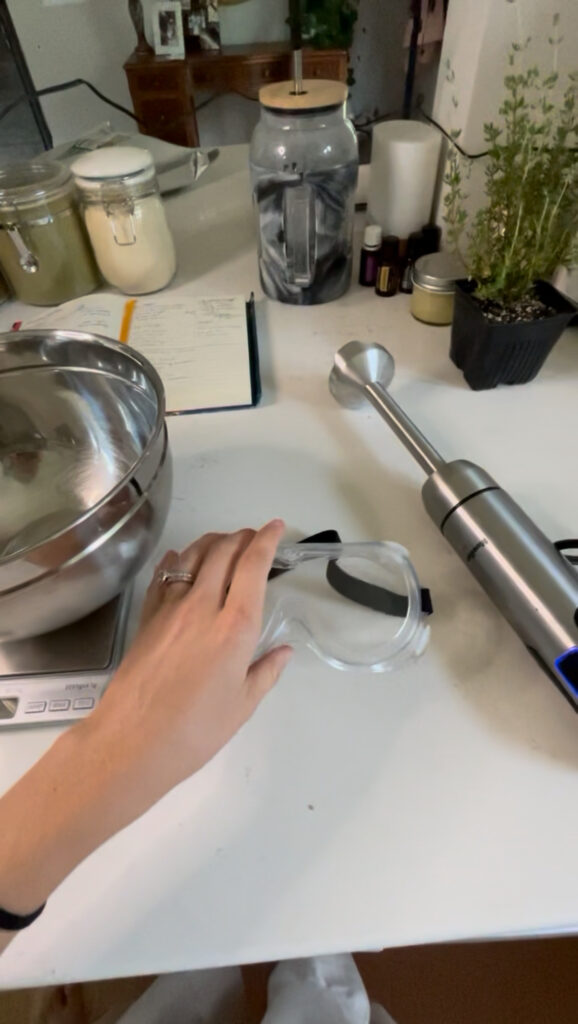
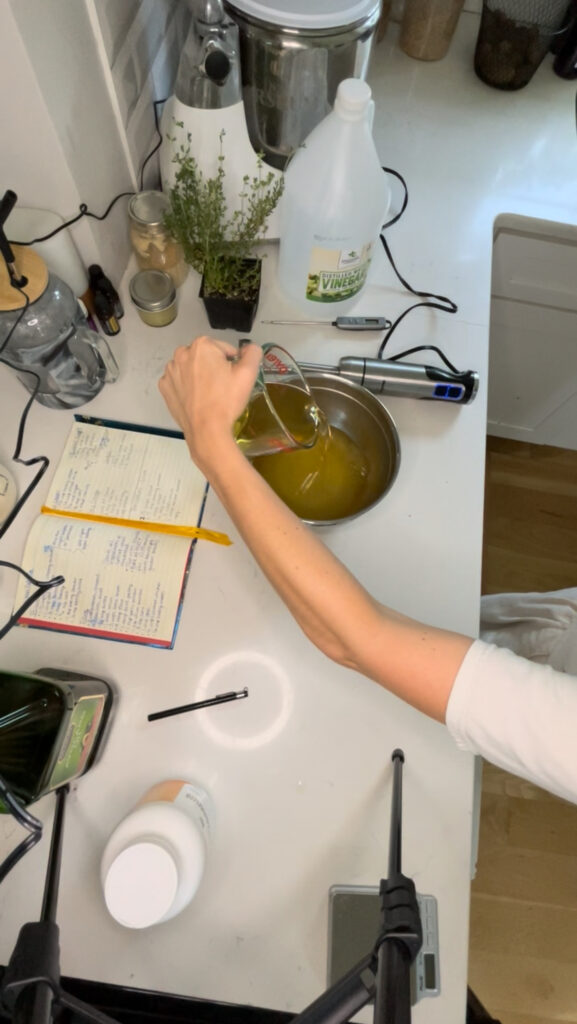
Step 1: Prepare your workspace
Lay out all ingredients and tools before you start. Soapmaking moves quickly once the potassium hydroxide hits the water, so you’ll want everything ready.
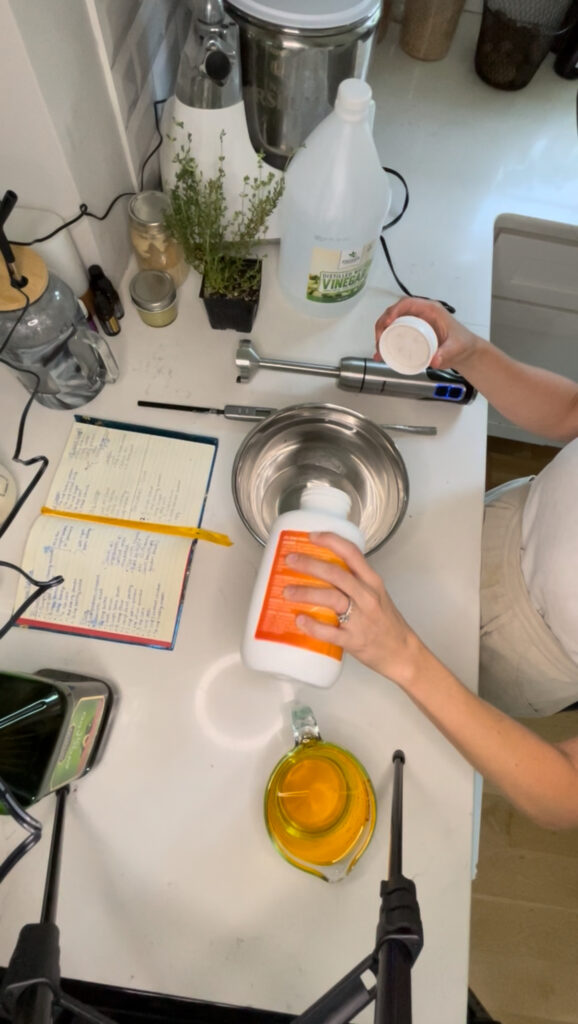
(In the photo, you can see the avocado oil, KOH bottle, and my notebook with my soap ratio scribbles — it’s part science, part art.)
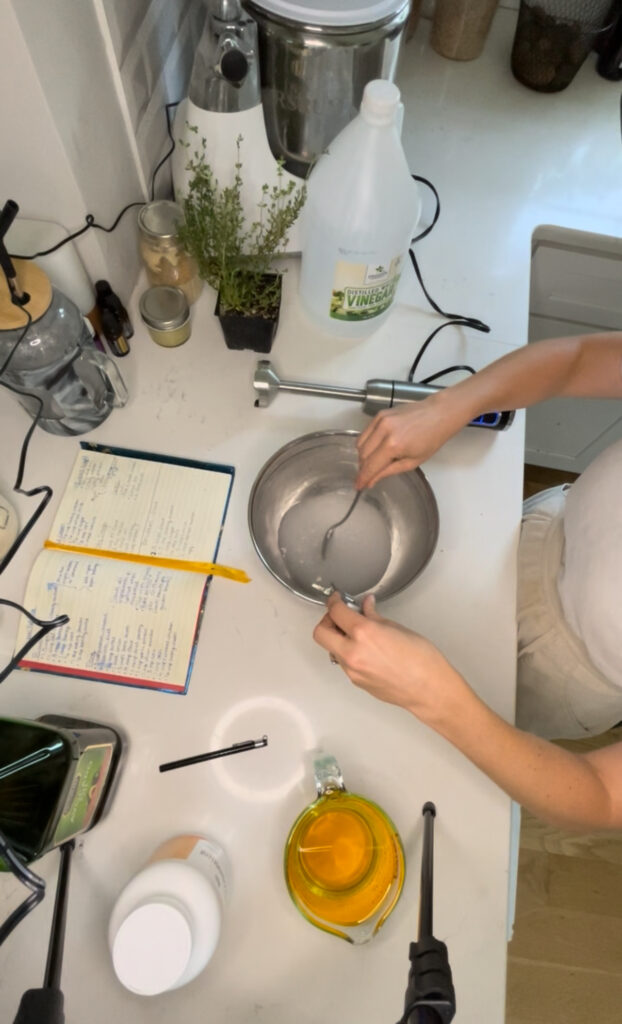
Step 2: Mix the lye solution
Slowly add the potassium hydroxide to the water – never the other way around!
Stir gently until dissolved. The mixture will heat up quickly and may reach over 160°F. Let it sit while you prepare your oils.
Step 3: Combine with olive oil
Measure out your olive oil (I use cold-pressed extra virgin) and pour it into a stainless steel bowl. Slowly add your cooled lye solution into the oil while blending with the immersion blender.
After a few minutes, the mixture will turn creamy and opaque – that’s called “trace.”
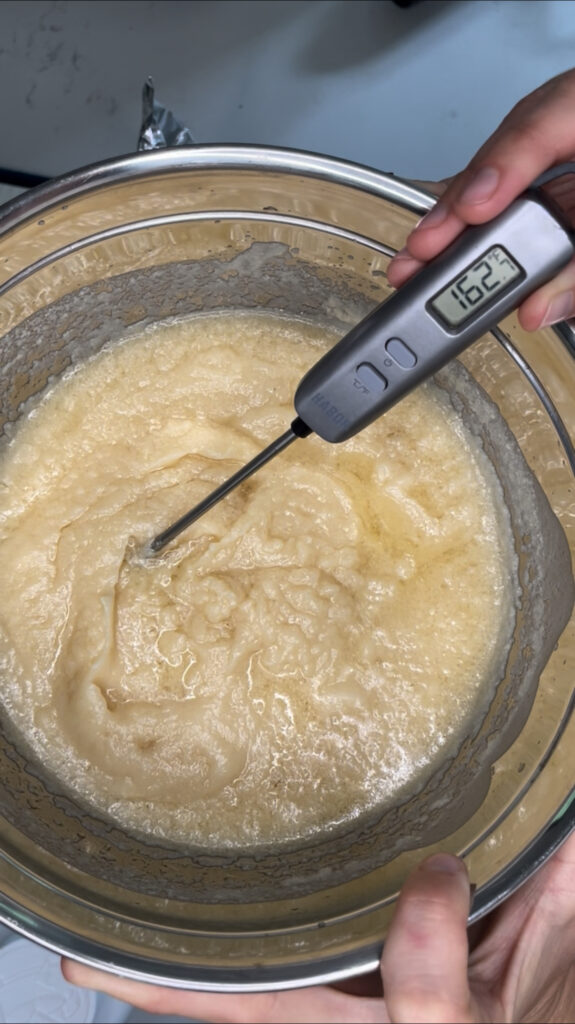
Step 4: Cook the soap paste
Once it reaches a thick pudding texture, begin heating it (in a double boiler, crockpot, or in a pot over very low heat). Stir and monitor the temperature. Mine usually climbs around 160°F, as shown in the photo.
You’ll know it’s done when it resembles glossy mashed potatoes or applesauce.
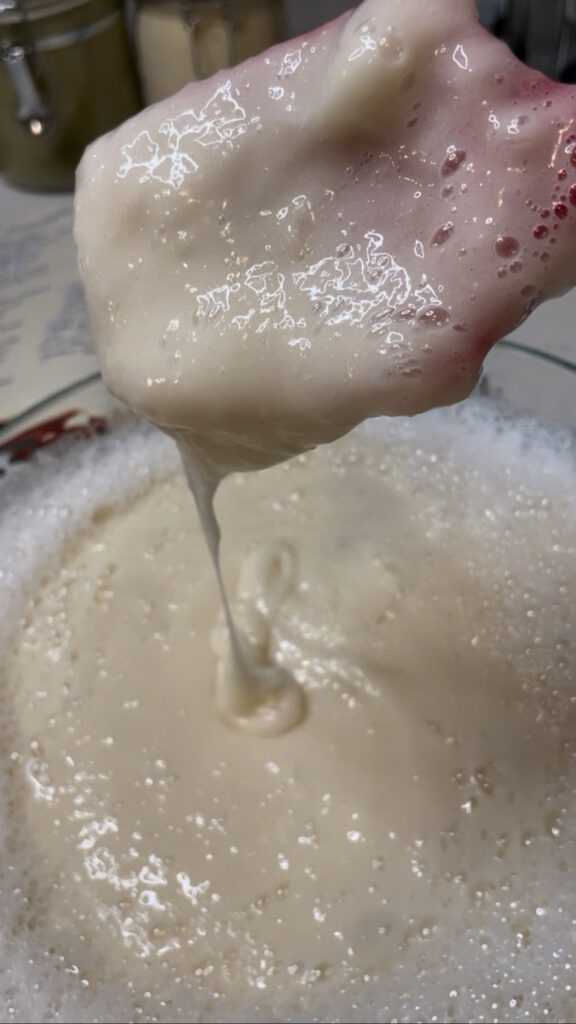
Step 5: Dilute into liquid soap
Liquid soap paste must be diluted with water.
- Start with 1 part paste to 1–1.5 parts distilled water by weight.
- Add filtered water slowly to the cooled soap paste and let it dissolve over several hours or overnight.
- Stir occasionally until it’s smooth and translucent.
- You can add a few drops of essential oil at this stage if desired.
How Long Does Dilution Take?
- Several hours to overnight
- Some pastes dissolve faster than others
If Soap Is Too Thick:
- Add small amounts of hot distilled water
If Soap Is Too Thin:
- Allow to rest (it often thickens as it cools)
Resting & Clarity
After dilution:
- Let soap rest 24–48 hours
- Air bubbles will rise
- Soap will become clearer
This resting phase improves texture and appearance.
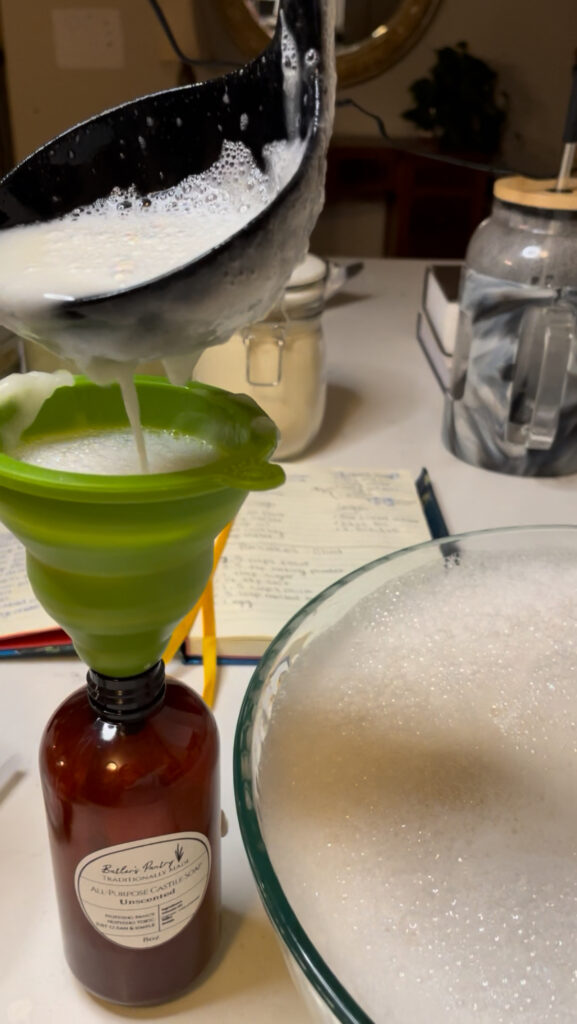
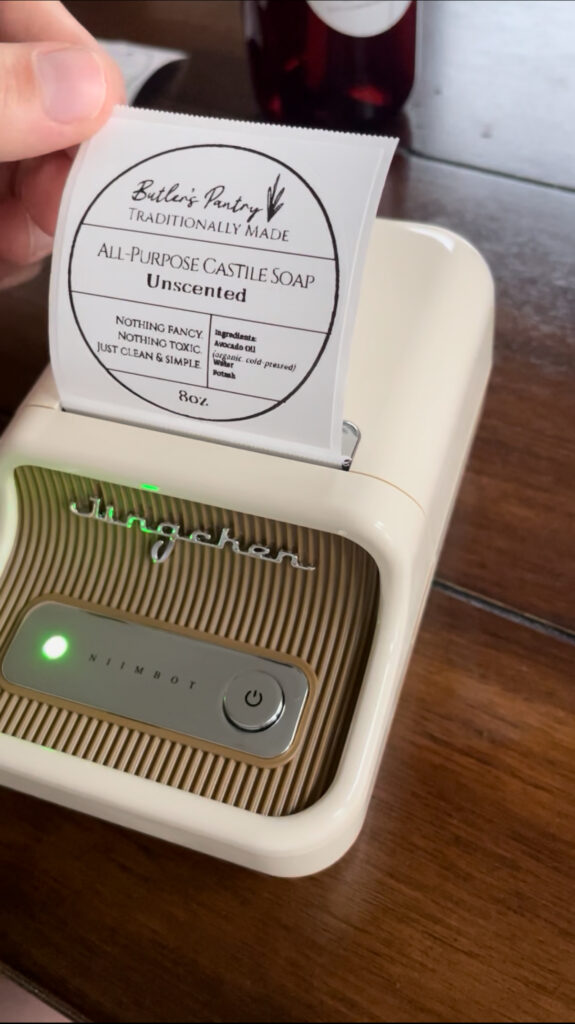
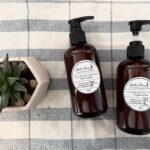
Step 6: Bottle and label
Using a funnel, pour your finished soap into clean bottles. I label mine “All-Purpose Castile Soap. Unscented.” It’s gentle enough for hands but can also be used for dishes, homemade cleaning sprays, laundry, etc.
(I got a label maker for my birthday and am just always looking for an excuse to use it haha!)
Tips
- Always measure by weight, not volume.
- Keep vinegar nearby in case of lye spills.
- Olive oil makes a mild, moisturizing soap; you can experiment later with coconut or castor oil blends for more bubbles.
- ⚠️ Avoid adding:
- Fresh herbs
- Milk
- Honey
- Anything containing water unless preserved
- Common Troubleshooting
- Cloudy soap: Normal – often clears with time
- Soap separates: Needs more rest or gentle reheating
- Harsh soap: Double‑check lye measurements
Storage & Shelf Life
Because liquid soap contains water:
- Store in clean, airtight containers
- Use within 12 months
- Refrigeration extends shelf life
- Preservatives are optional but recommended for long‑term storage
Homemade 3-ingredient Castile Soap
Final Thoughts
There’s something grounding about making your own soap from scratch. The process feels ancient, almost alchemical. You take humble, CHEAP, ingredients: oil, water, ash (in the form of lye) and end up with something clean, pure, and useful. It’s slow, simple, and deeply satisfying. Once you understand the why behind each step, the process becomes intuitive and incredibly adaptable for home and homestead use.
Homemaking at its most beautiful… and practical!
This soap works beautifully for:
- Hand soap
- Dish soap
- Household cleaner
- Laundry soap base
If you’ve never made liquid soap before, go slowly, respect the lye, and trust the process.
Happy soapmaking
🤍 Rachel
Homemade 3-Ingredient Liquid Castile Soap
Equipment
- Digital Scale
- Stick blender
- Stainless steel pot or bowl
- Silicone spatula
- Meat thermometer
- Safety goggles optional
- Gloves optional
- Long sleeves optional
Materials
- 16 oz Olive Oil
- 3 oz KOH (Potassium Hydroxide)
- 6 oz Water
Instructions
- Put on safety gear (gloves and eye protection) and work in a well-ventilated area.
- Make the lye solution: Slowly add potassium hydroxide to the distilled water (never water to lye). Stir until fully dissolved. Set aside.
- Warm the olive oil in a slow cooker or stainless pot until gently heated.
- Combine and blend: Carefully pour the lye solution into the warm oil. Use a stick blender in short bursts until thick trace is reached.
- Cook the soap paste: Cover and cook on low, stirring occasionally, until the paste becomes glossy, translucent, and gel-like (about 2-4 hours).
- Dilute the paste: Add hot distilled water (start with 1-1.5 parts water per 1 part paste by weight). Stir gently and heat until fully dissolved.
- Rest the soap: Let diluted soap sit 24-48 hours to allow bubbles to rise and clarity to improve.
- Bottle and store in clean containers.
Notes
Notes
- Soap thickens as it cools.
- Add essential oils during/after dilution, if desired.
- Do not add fresh herbs, fresh fruit peels, or anything that could be holding water. Make sure additives are fully dried.
- Store in airtight containers; use within 12 months.