Simple 4 Ingredient Freshly-Milled Bread
A Little About MY Journey Into Milling Flour
I only started milling my own flour about five years ago — but honestly, I wanted to do it for several years before that. Like many things in homemaking, it sat on my “someday” list while I saved up for a grain mill and tried to figure out something that felt mysterious at the time: where in the world do you even buy whole grain berries?
Now sourcing grain feels simple. If I want grain delivered straight to my door, I order from
Grand Teton Ancient Grains, a regenerative organic family farm and mill in Idaho focused on preserving and distributing ancient grains.
However, if I’m planning ahead and don’t mind waiting until my “drop” day, I order my grain berries froma
Azure Standard, a family-owned community-based food co-op that distributes natural and organic foods through regional drop points rather than traditional storefronts.
When I finally started milling, I knew one thing about myself: if the process was complicated, I wouldn’t keep doing it. So I simplified everything. THIS loaf became my go-to — dependable, flexible, and forgiving.
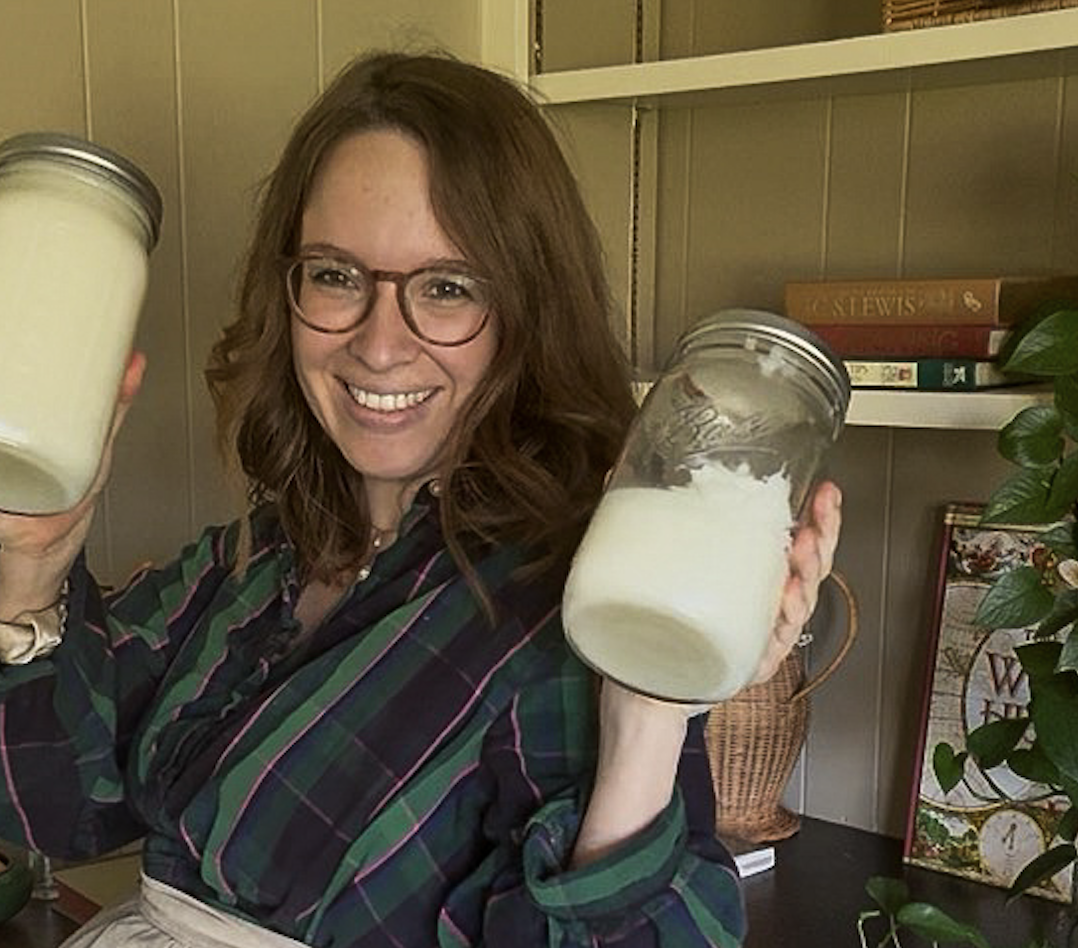
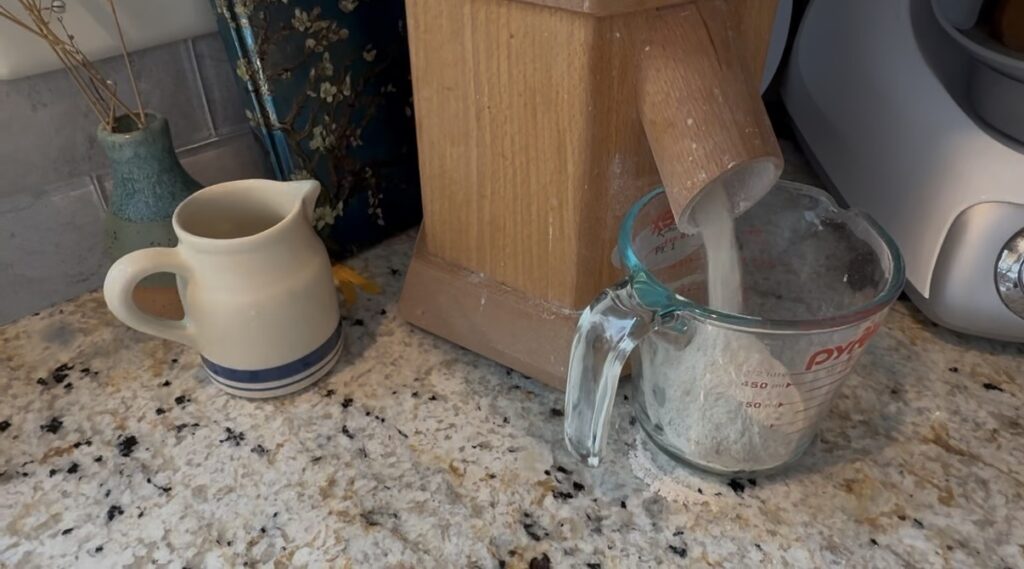
I mill my flour directly into a measuring cup and usually end up using two full 2-cup glass measuring cups — about 4 cups total flour. I add about 1½ cups of water, but the truth is that freshly milled flour behaves differently day to day. Humidity, grain type, and grind all affect absorption.
Over time, you begin to recognize dough consistency more than measurements. Eventually you can mix flour and water by feel alone — something bakers baked like this long before standardized measuring cups existed. Many historical recipes assumed this intuition and gave only approximate instructions.

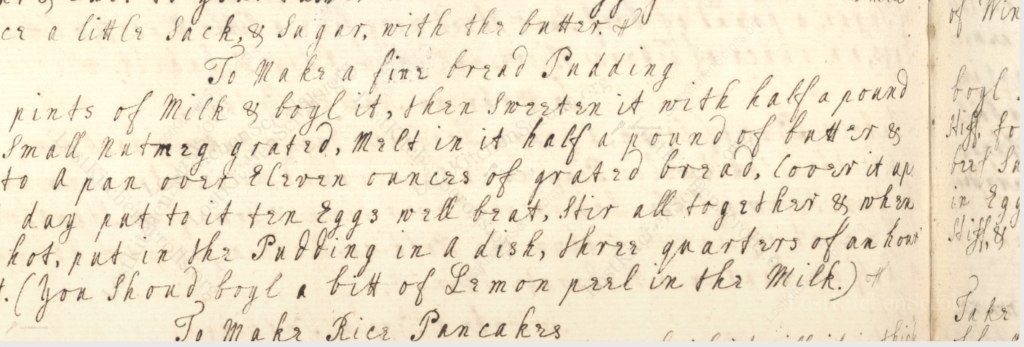
For example, a handwritten household recipe from around 1720 instructs:
“Take three pints of Milk & boyl it… Melt in it… a small peice of bread… stir all together & when the oven is hot, put in the Pudding…”
Recipes like this were intentionally narrative and imprecise because cooks were expected to already understand technique and texture.
Even later farmhouse-style recipes often relied on experiential judgment. A typical early-20th-century rye bread transcription, for example, simply says to add flour, let it rise once or twice, and bake — assuming the baker already knows what properly risen dough looks like.
This is why I encourage new bakers not to stress about exact measurements. Baking this loaf repeatedly teaches you to recognize the shaggy dough stage, proper hydration, and kneading readiness without rigid dependence on cups and spoons. In many ways, you’re stepping into the same intuitive rhythm bakers have used for centuries.
Real Life Bread (a.k.a. When Everything Goes Wrong)
Ironically, while filming for this post — making the same basic loaf I’ve made countless times — several things went sideways.
My active dry yeast was almost inactive.
I didn’t have time to knead long enough to reach a “perfect” windowpane because I had to rush out the door for a homeschool commitment. (Although I think this impacted the bread much less than the inactive yeast).
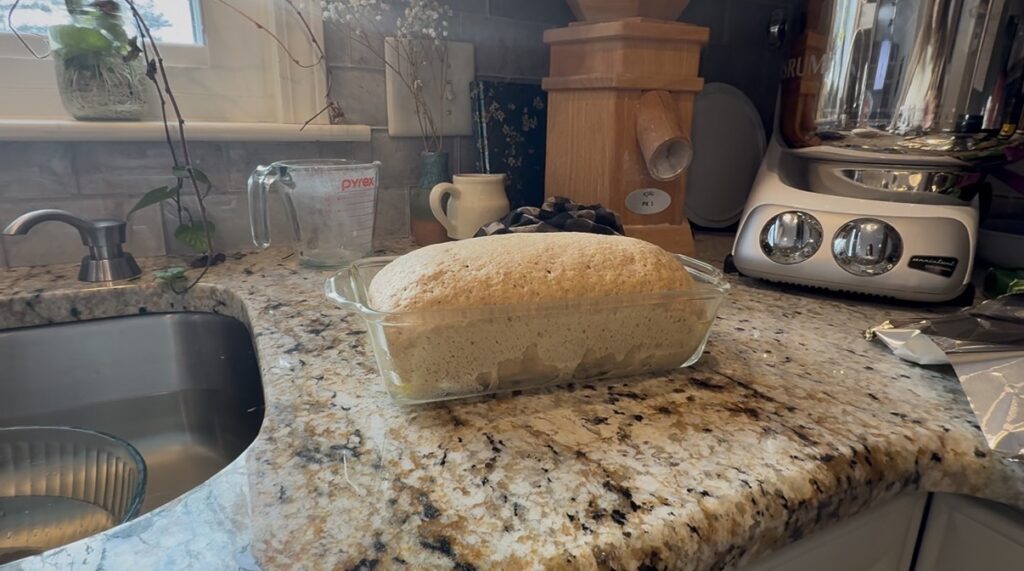
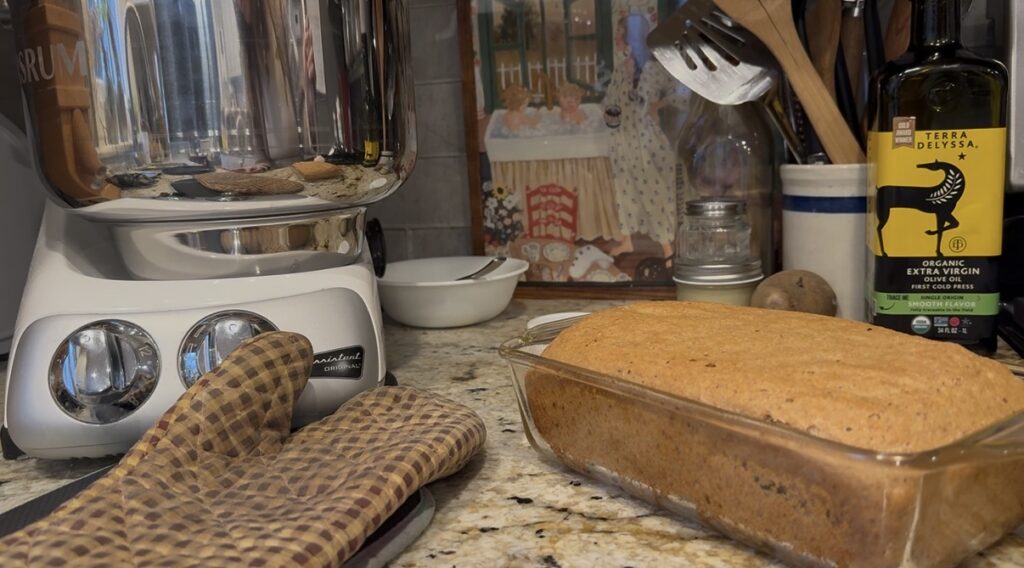
And I ran out of parchment paper, so I baked the loaves in oiled glass pans… where they promptly stuck to the bottom.
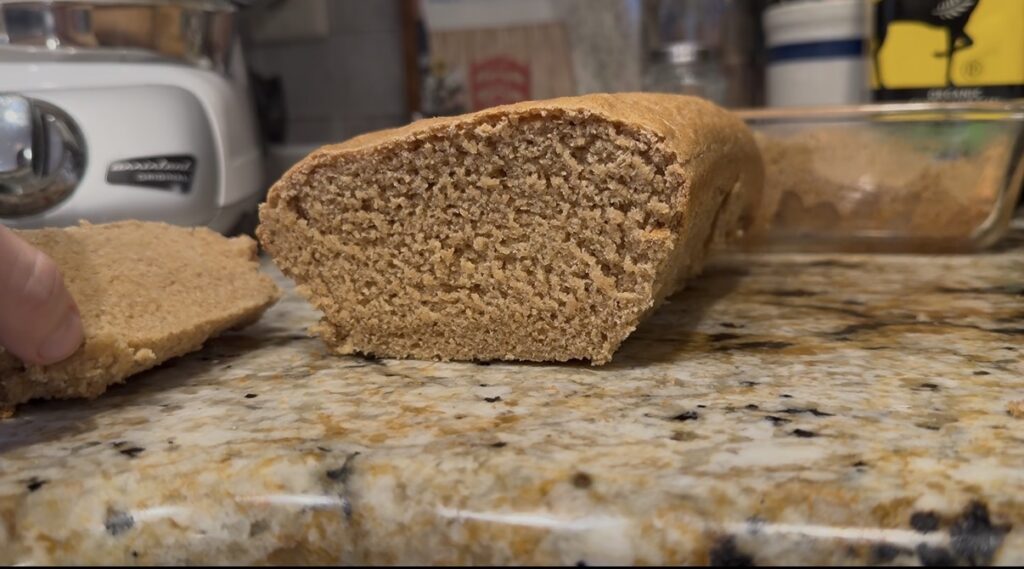
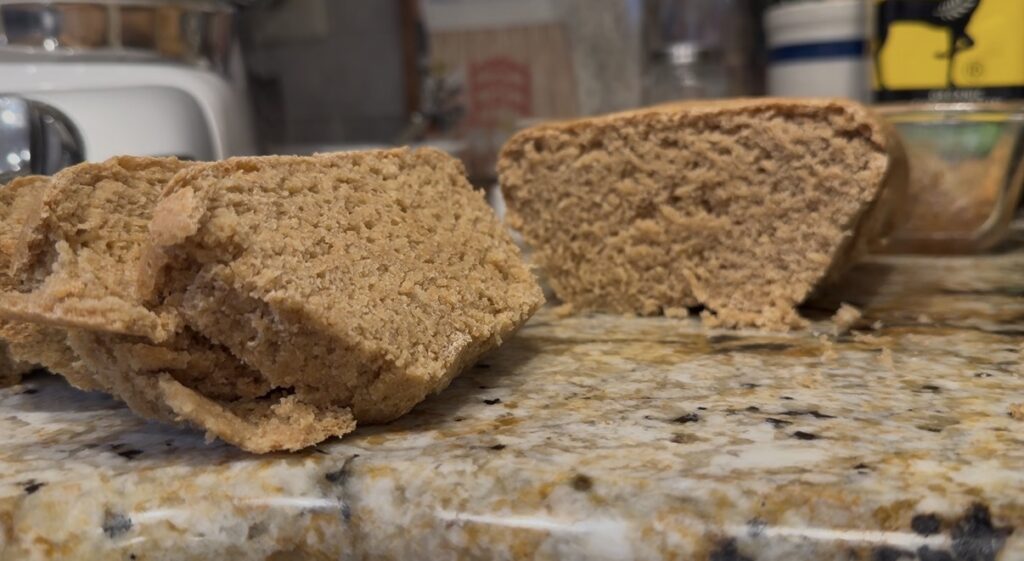
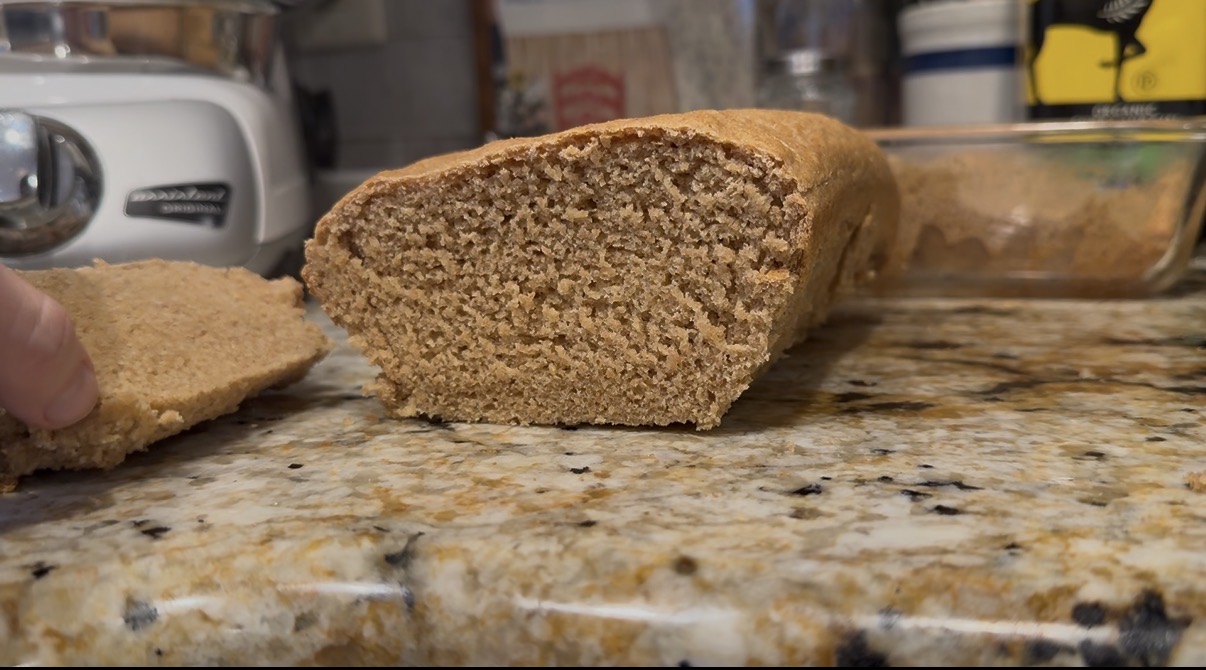
I still used the photos. Because this is real bread baking!!
Perfection isn’t the goal — nourishment is. And most “imperfect” loaves are still completely wonderful to eat (especially with butter — let’s be honest). Learning to bake from freshly milled flour means accepting variation, adjusting expectations, and gaining confidence through repetition rather than flawless outcomes.
If your loaf isn’t picture-perfect, don’t throw it out. Slice it. Toast it. Butter it. Feed your family.
That’s success!
Ingredients
- 3-4 cups flour
- Start with 3 and add more once mixed with water until dough is a shaggy ball
- 1.5 cups water
- 2 tsp yeast
- 2 tsp salt
Step-by-Step Instructions:
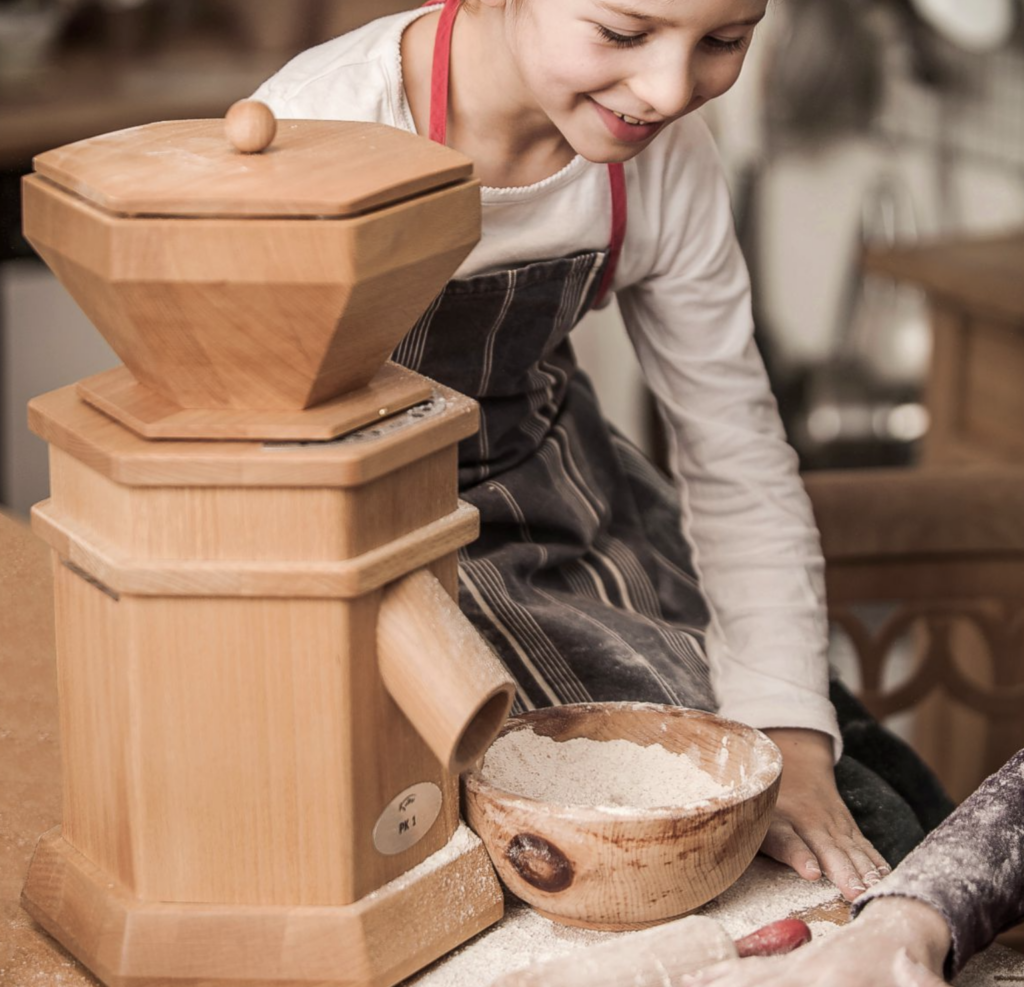
- Mill the flour
- Warm your water, and pour it in your mixer
- Add the yeast to bloom (only necessary if using active dry yeast)
- Next, add your flour to yeast water. Mix to incorporate until it forms a shaggy ball.
- Let it sit for 10-15 minutes (autolysing: to allow the flour to absorb the water)
- After autolysing, start kneading on lowest setting
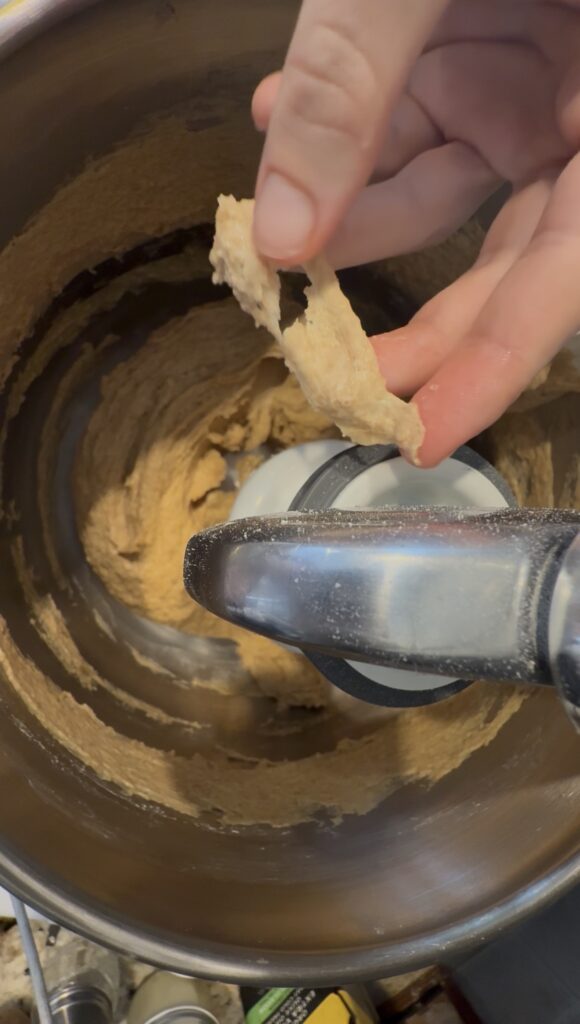
- Knead for about 10 minutes, then check the windowpane test
- If the windowpane test fails, keep kneading until it passes the test.
- This can take 25-30 minutes!
- When the dough finally passes the windowpane test, remove from mixer and shape into a ball with a tight skin. Place in an oiled bowl.
- Cover with a lid or damp tea towel and let rise for 1-2 hours, until doubled in size.
- After first rise, remove dough from bowl and flatten with rolling pin
- You can oil your counter or lightly dust with flour to keep dough from sticking
- Divide dough into 2 equal portions
- Then roll up flattened dough and shape so it will fit in your desired loaf pan
- I suggest lining your loaf pans with parchment paper. Otherwise, your bread will still stick sometimes even if you use oil.
- Cover dough in loaf pan with damp tea towel. Allow to rise for 30-45 minutes, or until it passes the “poke” test.
- While waiting during this second rise, preheat your oven to 450 degrees F. Place an oven-safe dish of water on the bottom rack to add humidity.
- This helps with keeping the top of the loaf soft
- Cover each loaf with a foil tent and place in oven above water dish
- Bake for 15 minutes at 450 degrees. Then remove foil tent and continue to bake at 400 degrees F for about 30 more minutes or until your loaf reaches 190 degrees F internal temp.
- Remove from oven, remove loaf from pan, allow to cool for 15 minutes before cutting
- Enjoy 🙂
I hope this helps! Drop a comment below if you have any thoughts or questions 🙂
Happy Eating!
❤️ Rachel
4-ingredient Freshly Milled Loaf
Ingredients
Method
- Mill the flour
- Warm your water, and pour it in your mixer
- Add the yeast to bloom (only necessary if using active dry yeast)
- Next, add your flour to yeast water. Mix to incorporate until it forms a shaggy ball.
- Let it sit for 10-15 minutes (autolysing: to allow the flour to absorb the water)
- After autolysing, start kneading on lowest setting
- Knead for about 10 minutes, then check the windowpane test. If the windowpane test fails, keep kneading until it passes the test. (This can take 25-30 minutes!)
- When the dough finally passes the windowpane test, remove from mixer and shape into a ball with a tight skin. Place in an oiled bowl.
- Cover with a lid or damp tea towel and let rise for 1-2 hours, until doubled in size.
- After first rise, remove dough from bowl and flatten with rolling pin.
- Divide dough into 2 equal portions. Then roll up flattened dough and shape so it will fit in your desired loaf pan.
- Cover dough in loaf pan with damp tea towel. Allow to rise for 30-45 minutes, or until it passes the “poke” test.
- While waiting during this second rise, preheat your oven to 450 degrees F. Place an oven-safe dish of water on the bottom rack to add humidity.
- Cover each loaf with a foil tent and place in oven above water dish. Bake for 15 minutes at 450 degrees. Then remove foil tent and continue to bake at 400 degrees F for about 30 more minutes or until your loaf reaches 190 degrees F internal temp.
- Remove from oven, remove loaf from pan, allow to cool for 15 minutes before cutting.
Products from my kitchen (click on image for link)